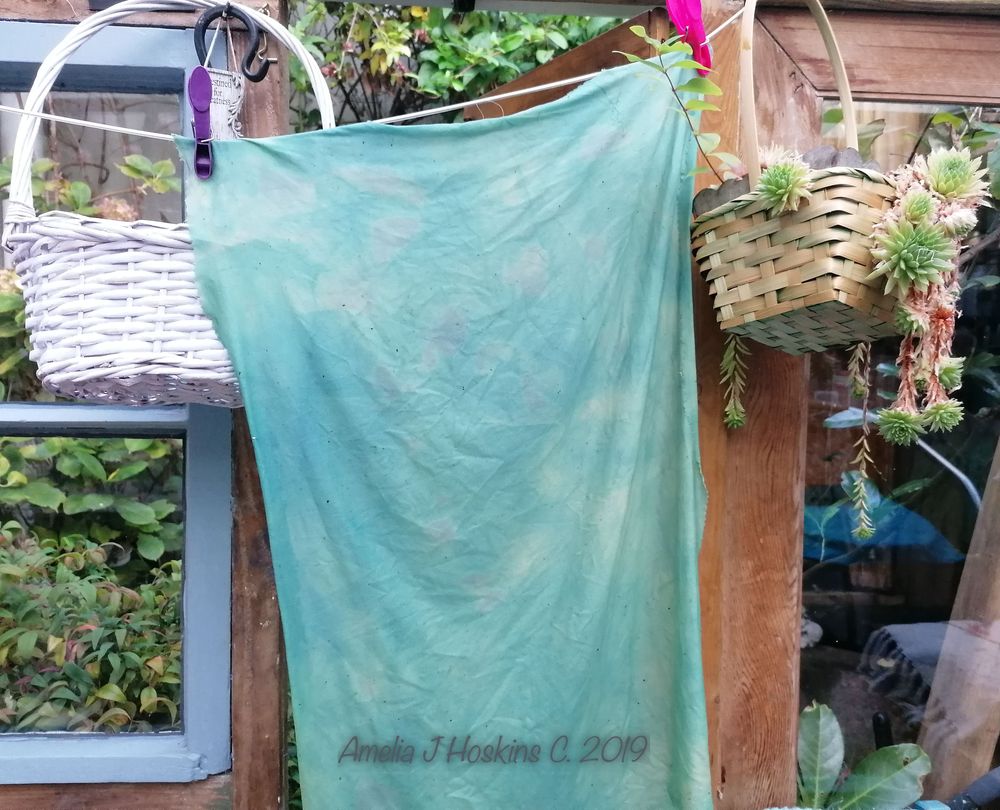
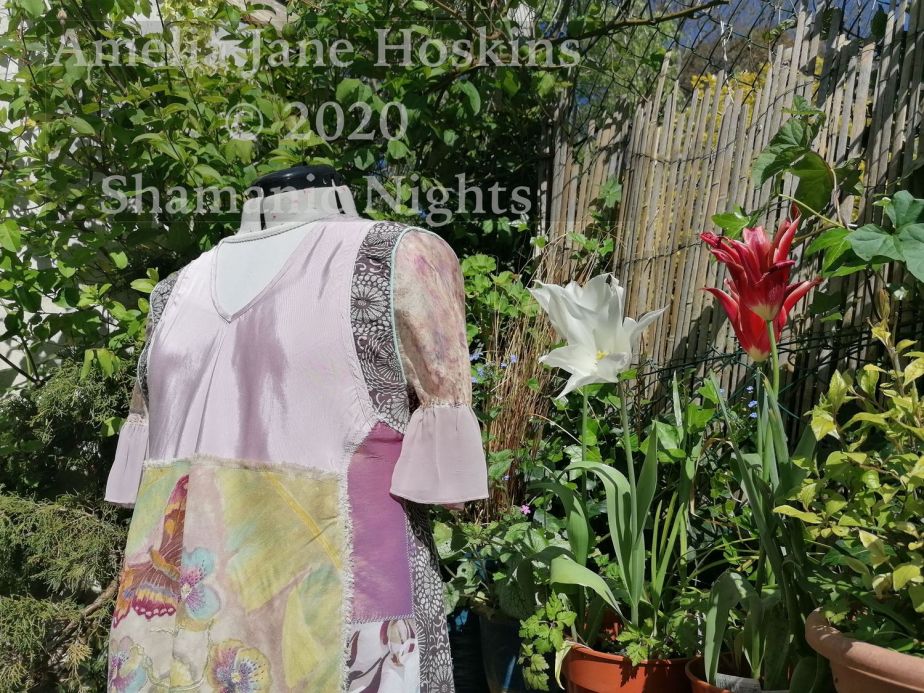
Hand made patchwork dress in blues – featuring hand dyed silk collar and nigella seed pod appliques


Dress available on ETSY Shop Shamanic Nights. ‘Tasmanian Blues’
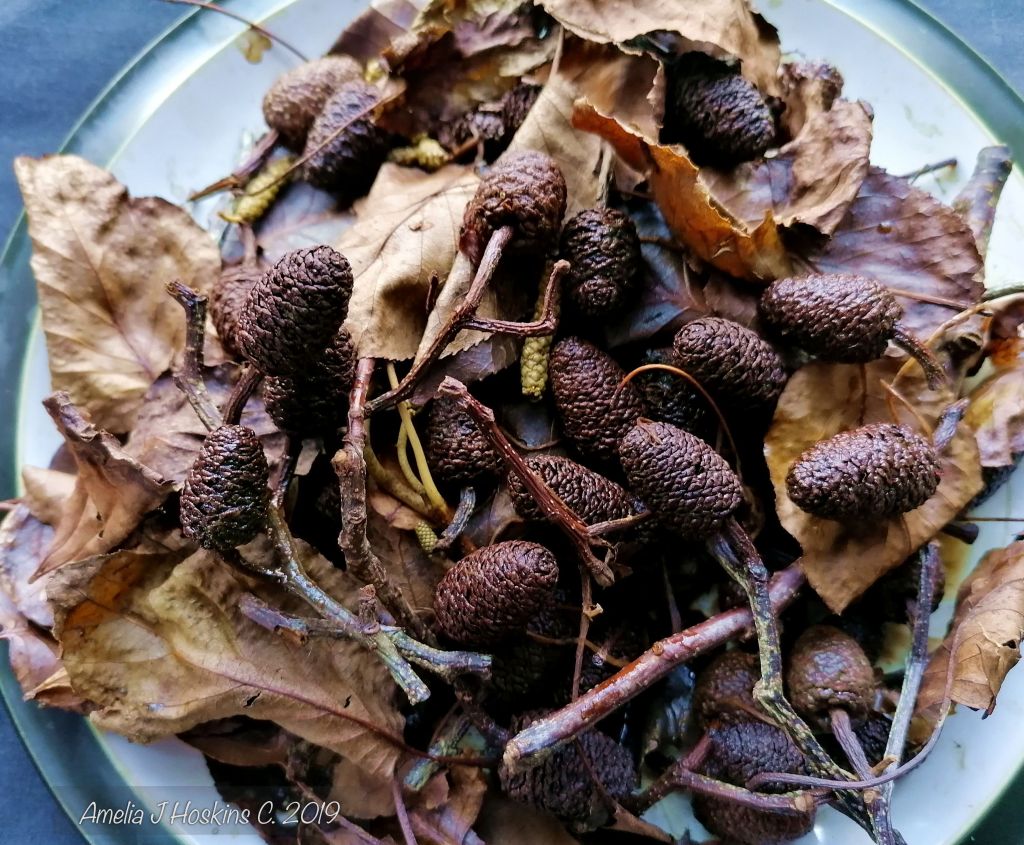
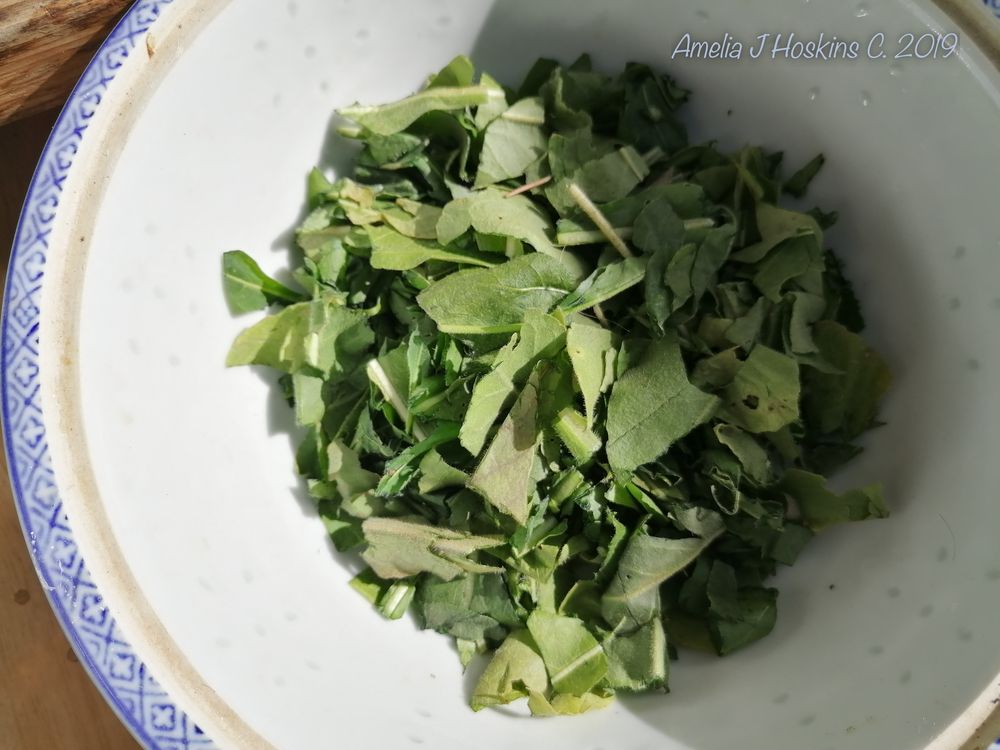
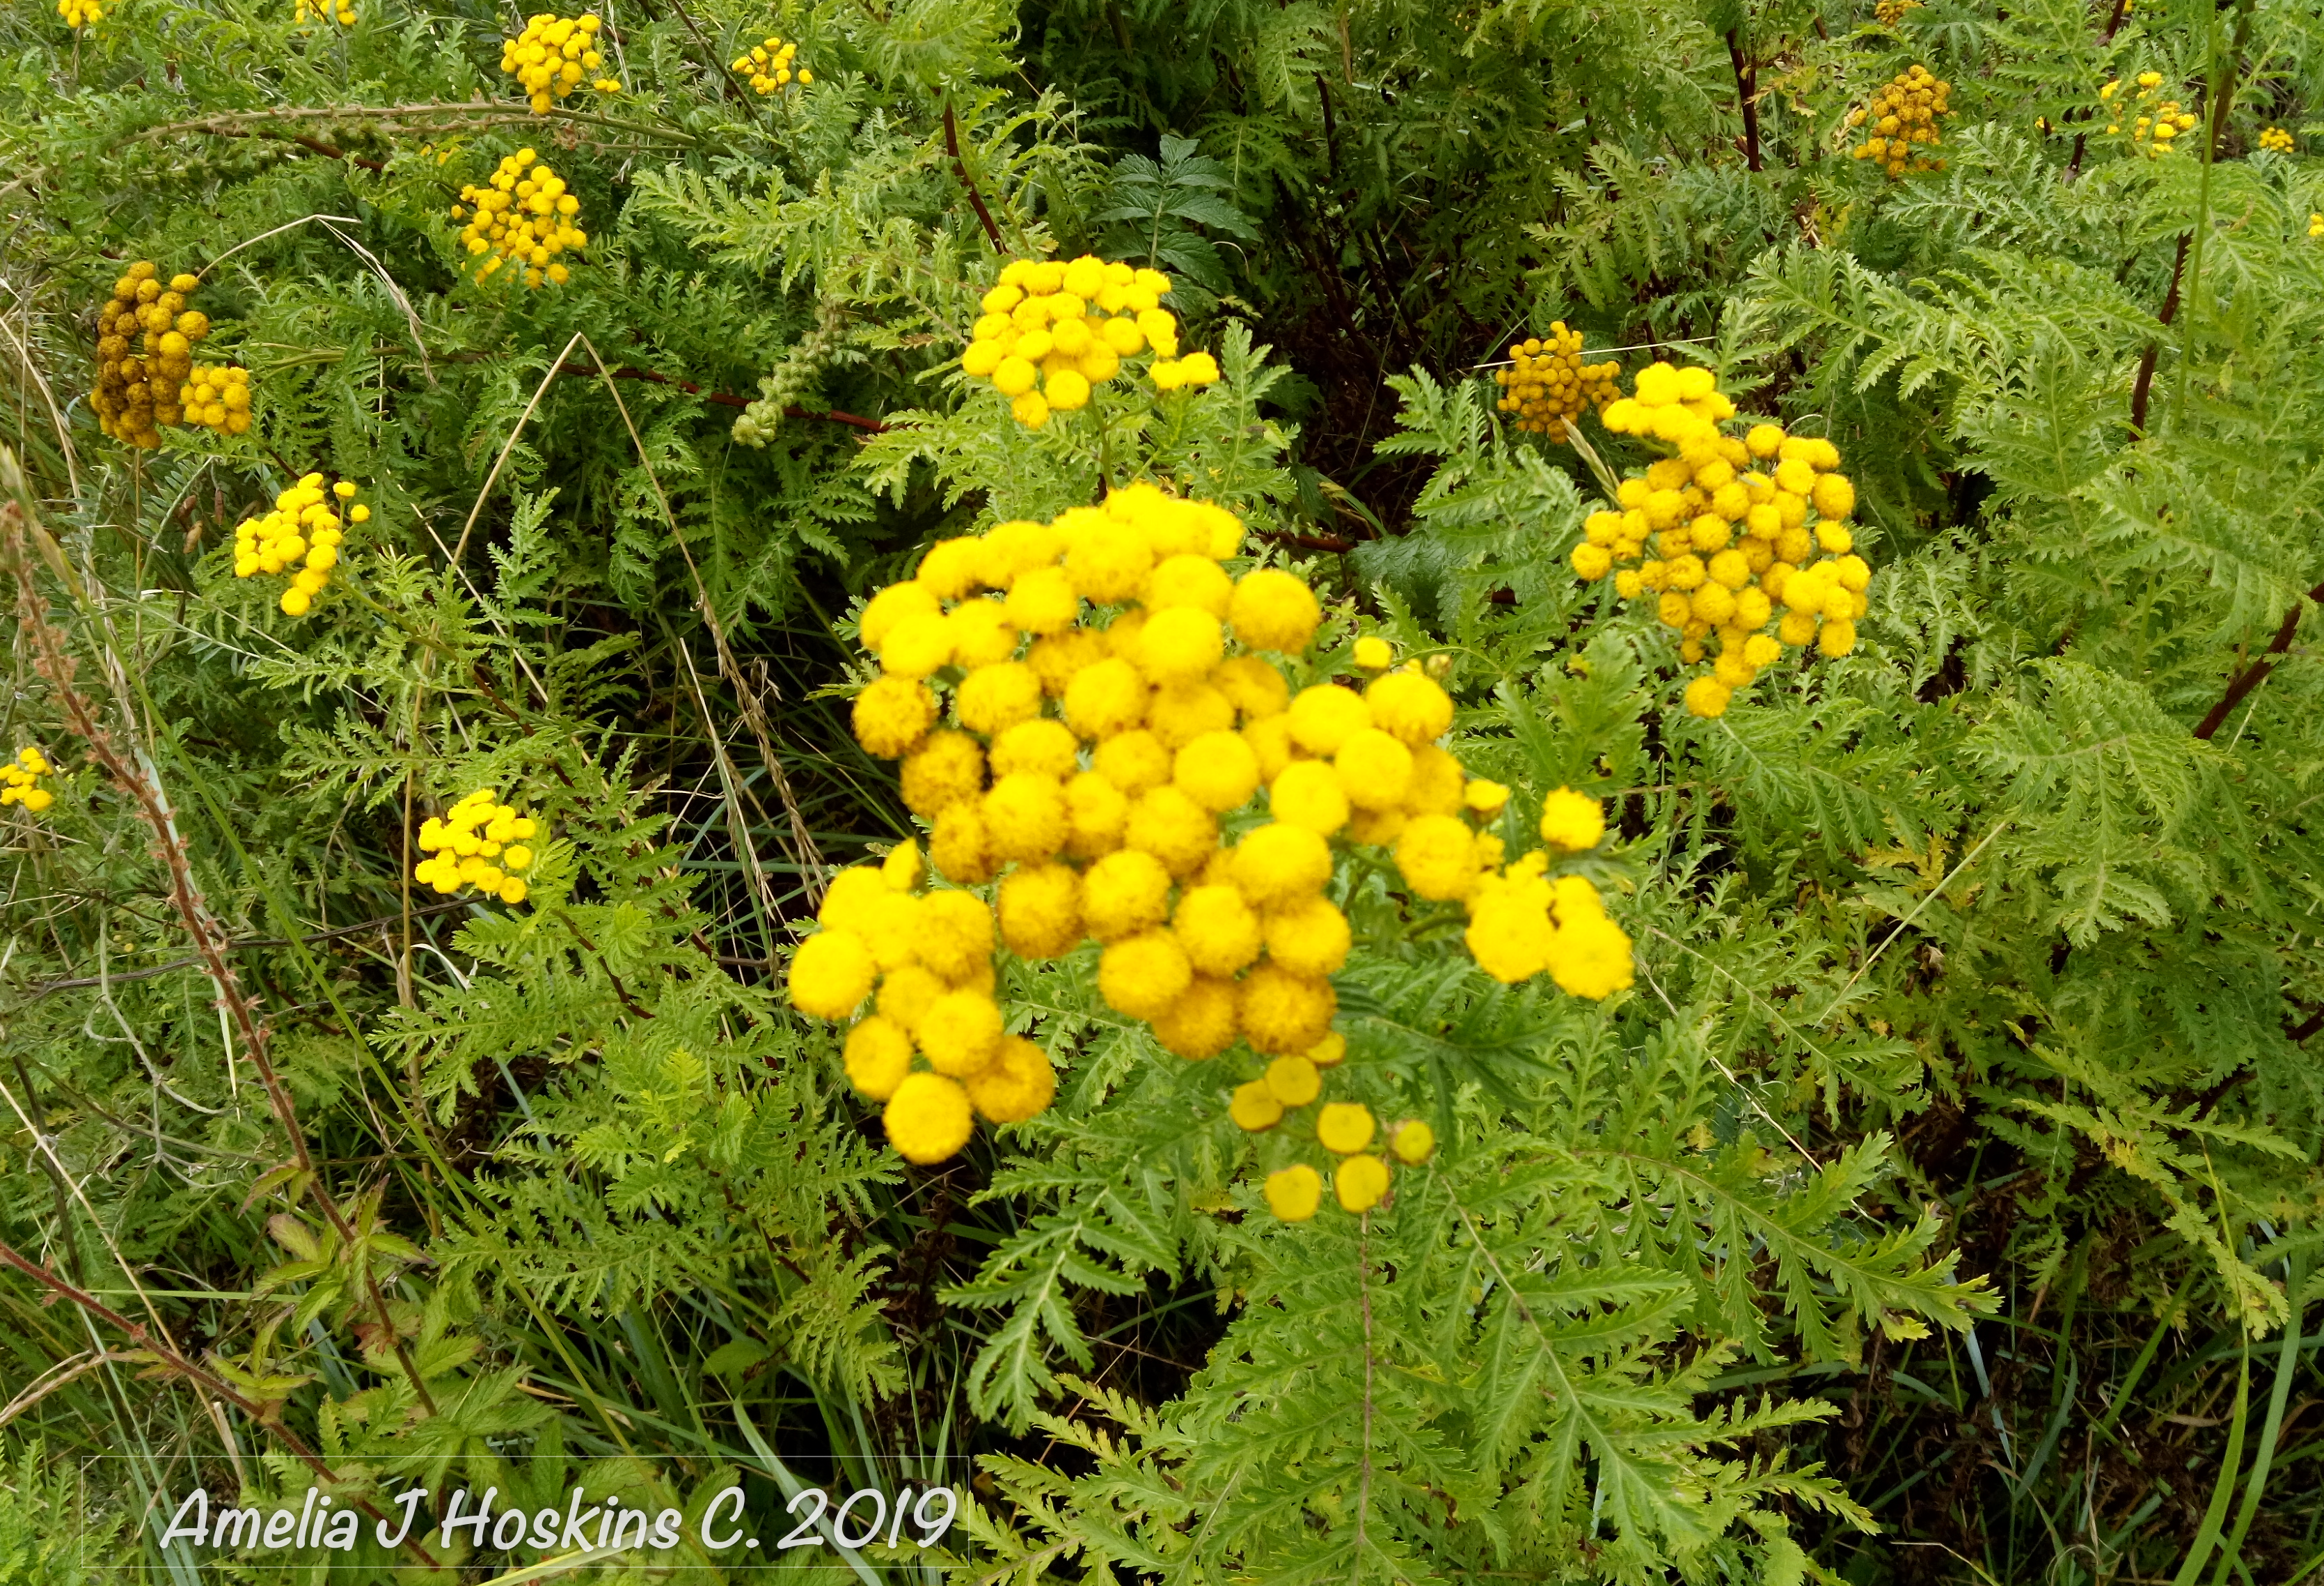
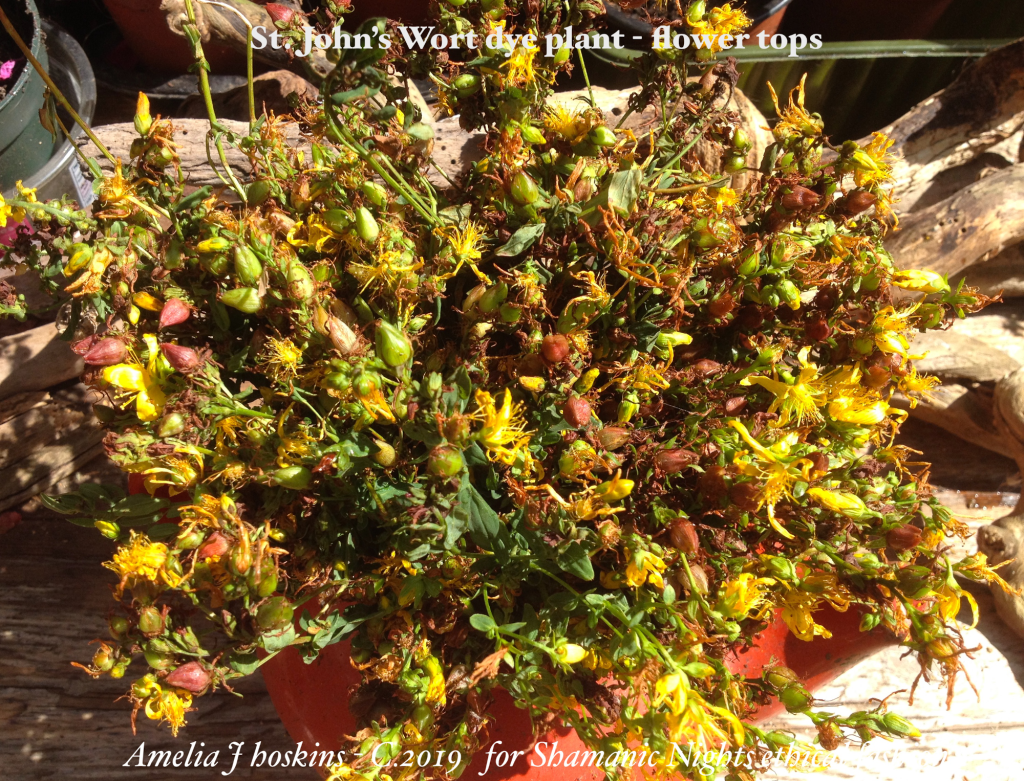
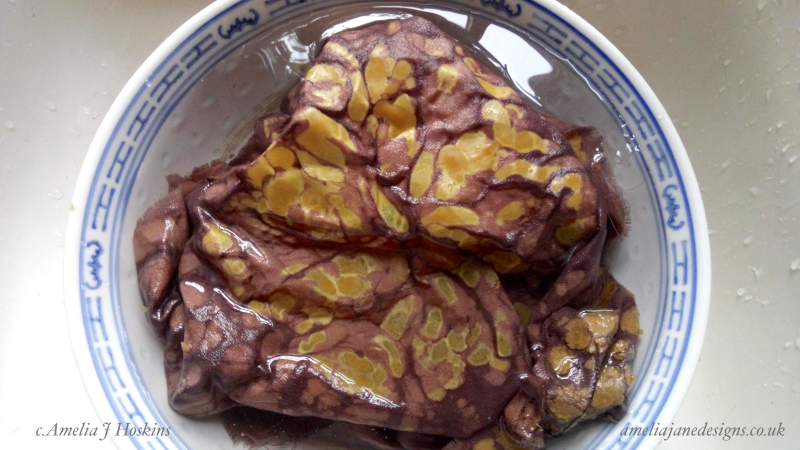
Story of golden Tasmanian eucalyptus tree bark dye
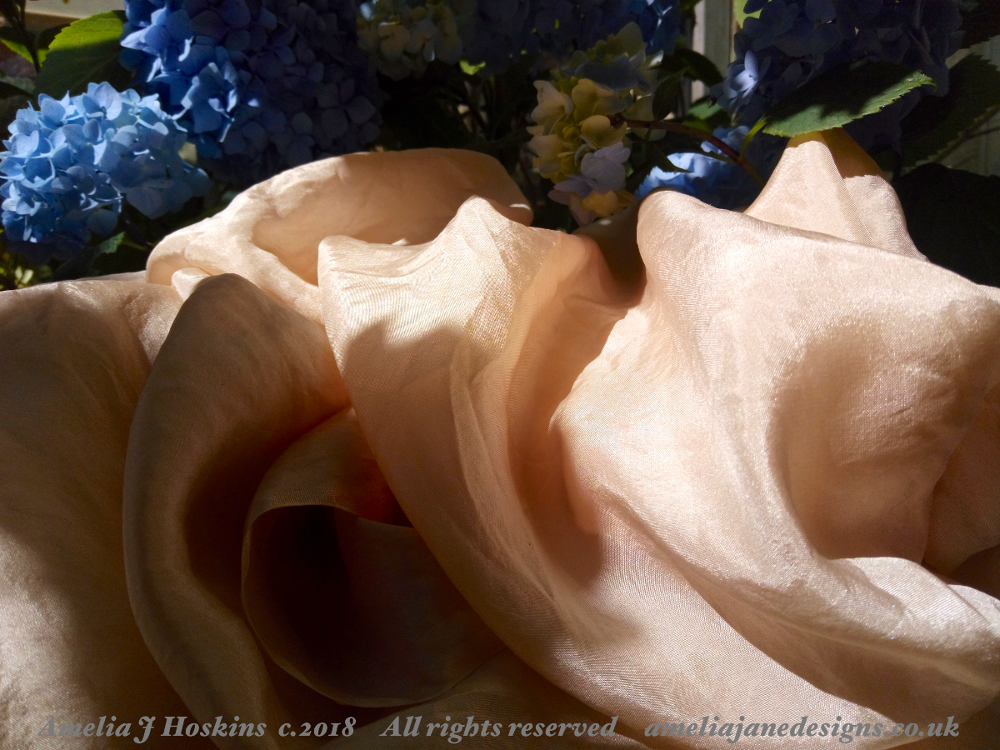
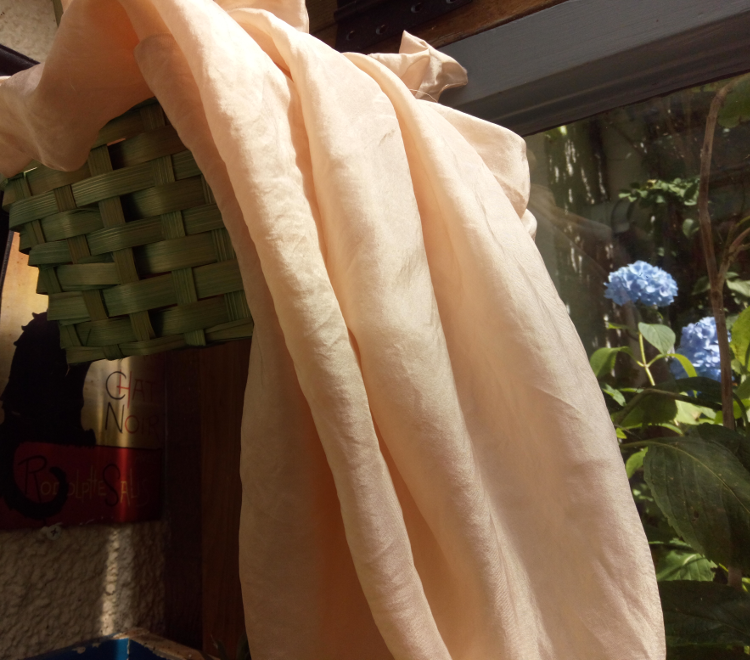
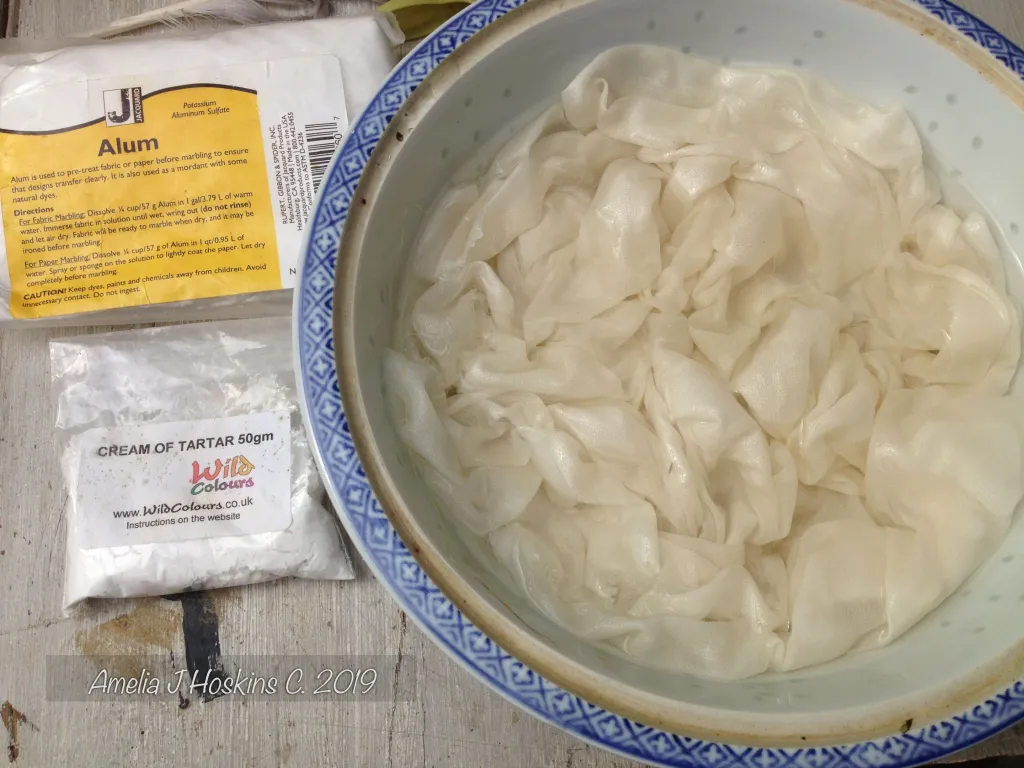
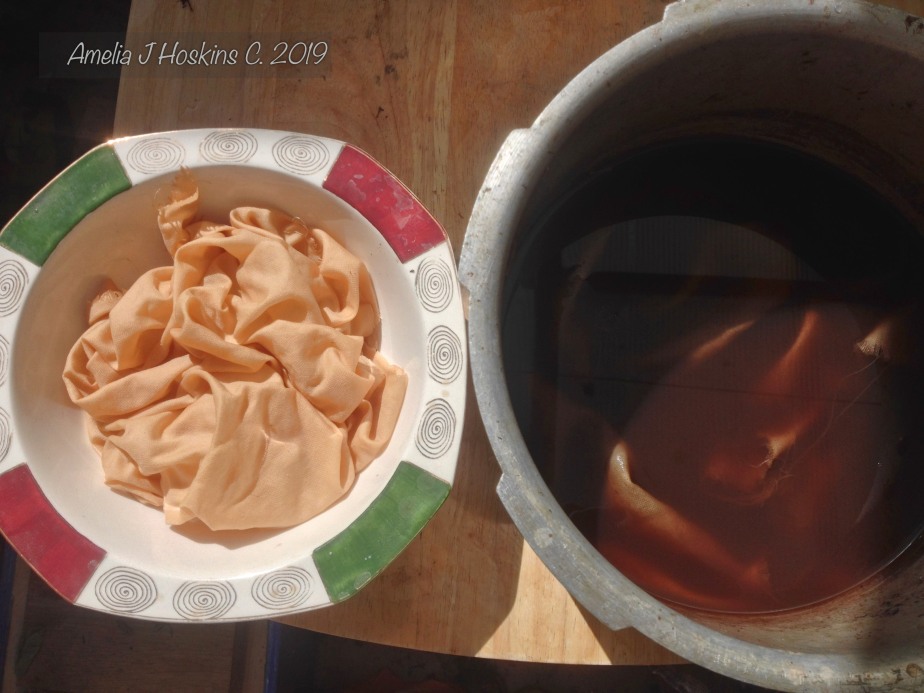
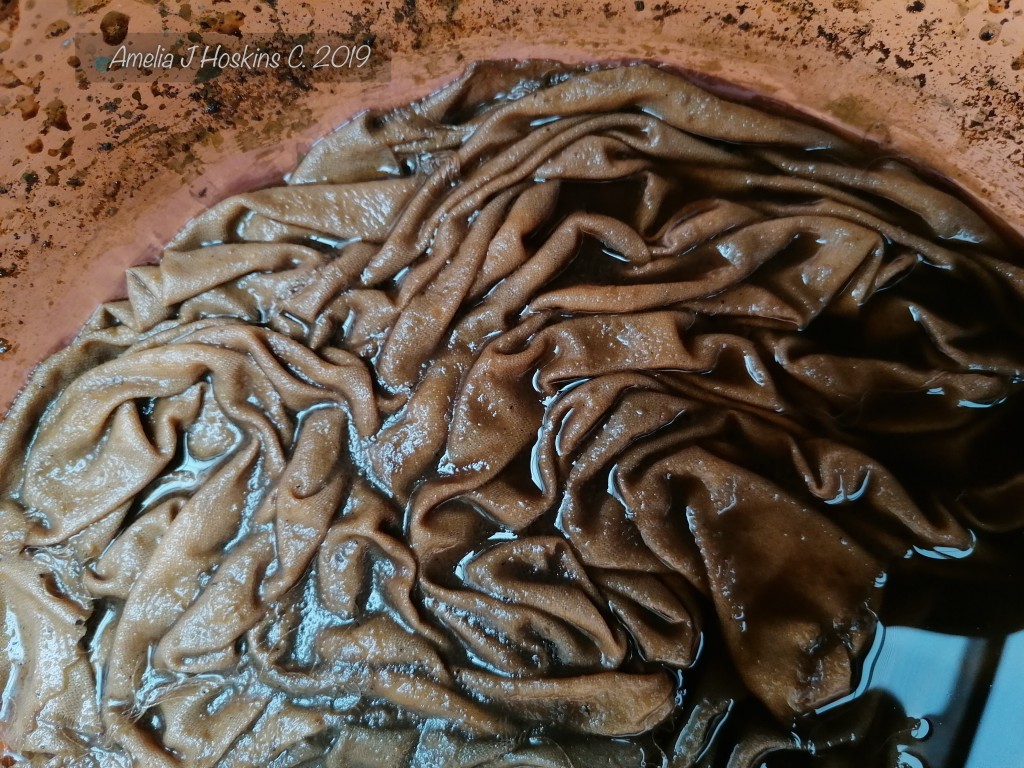
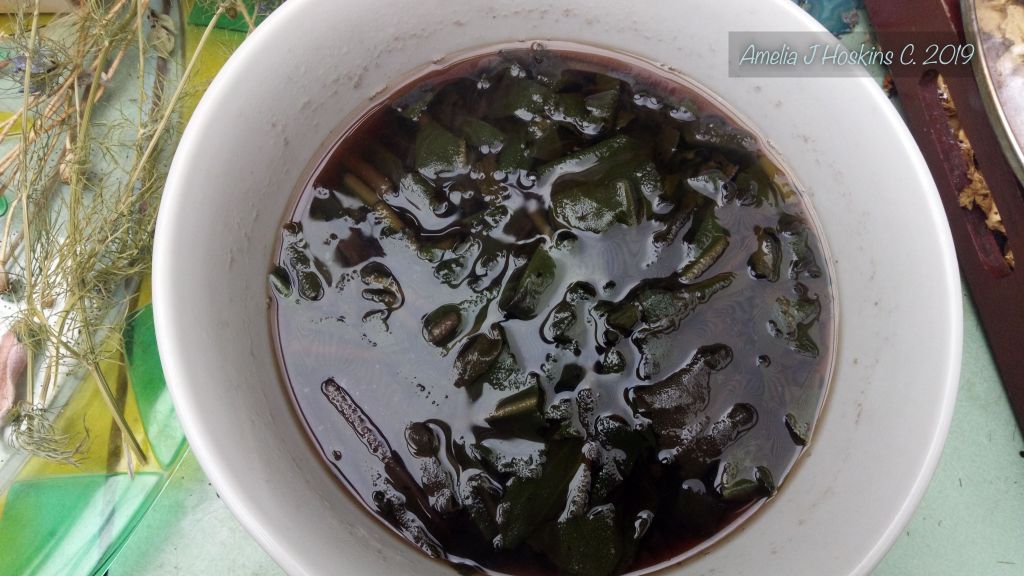
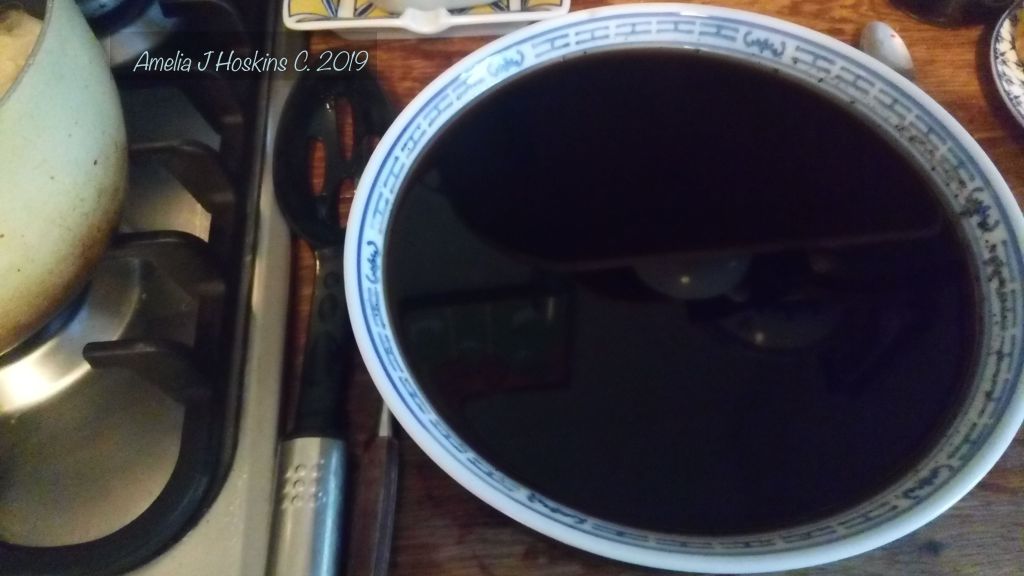
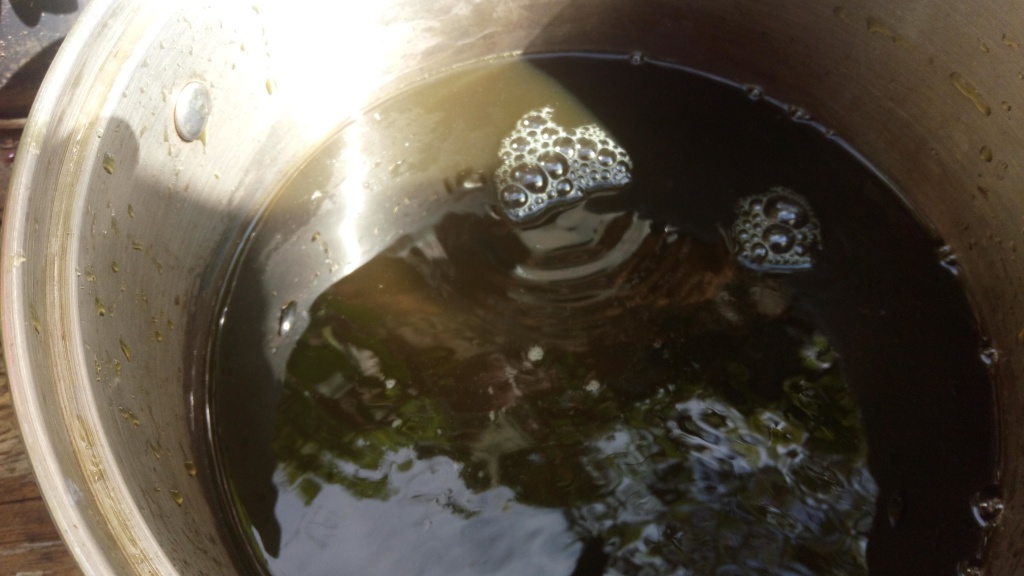
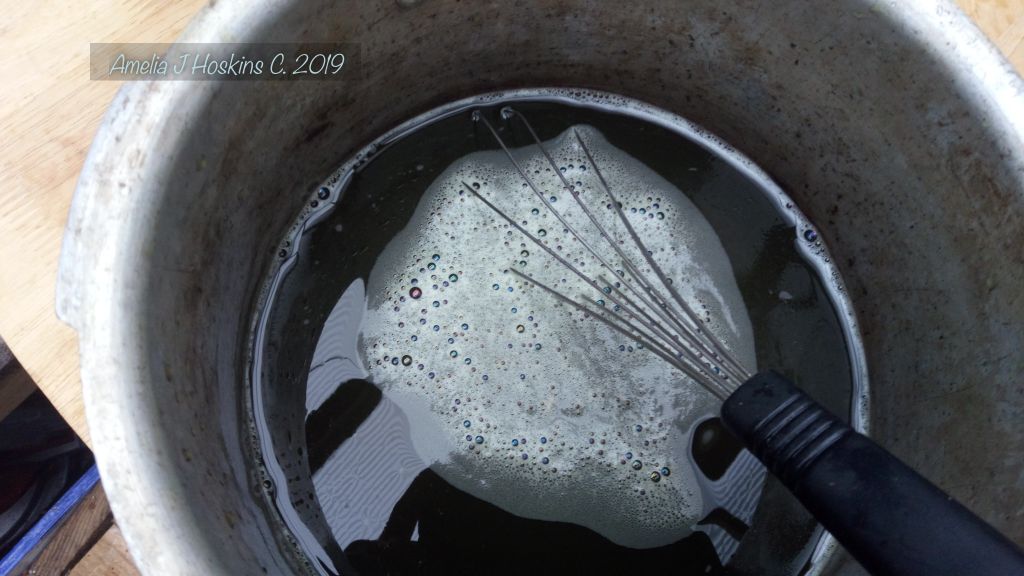
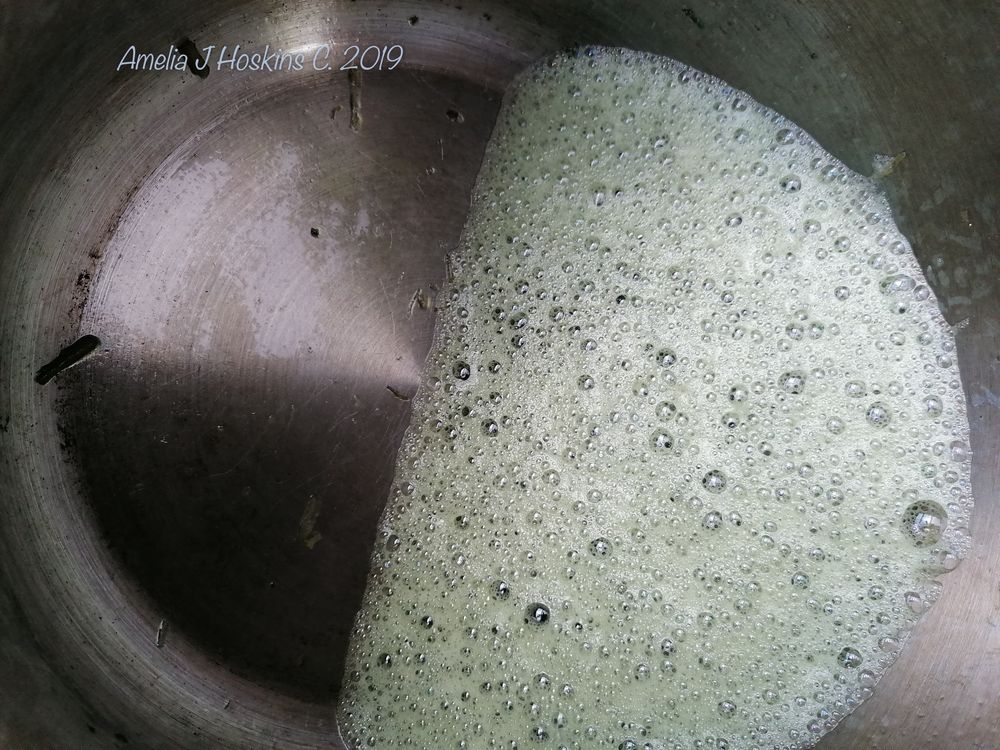
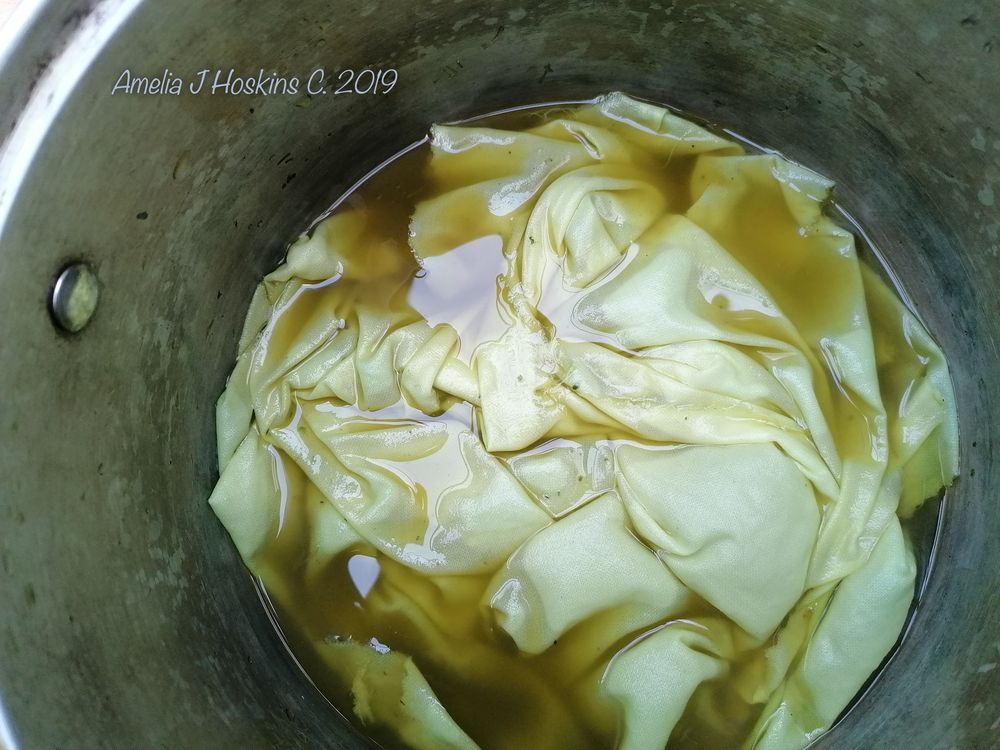
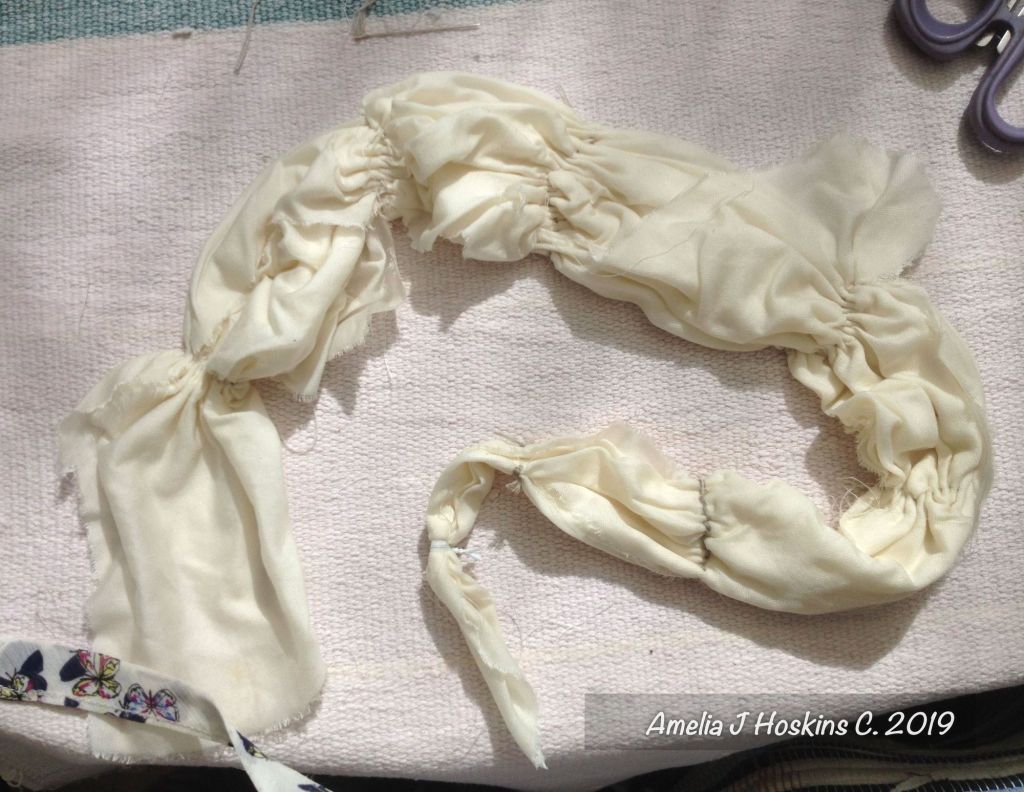
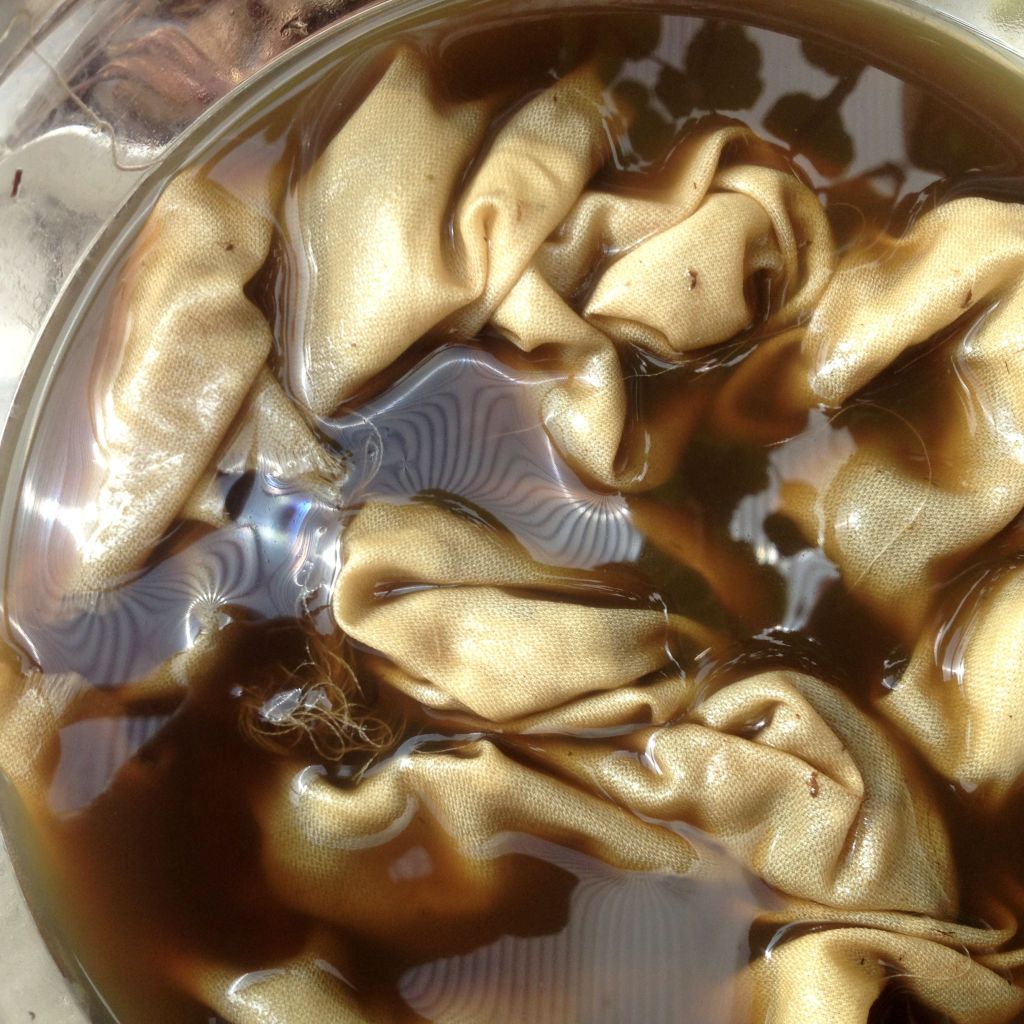
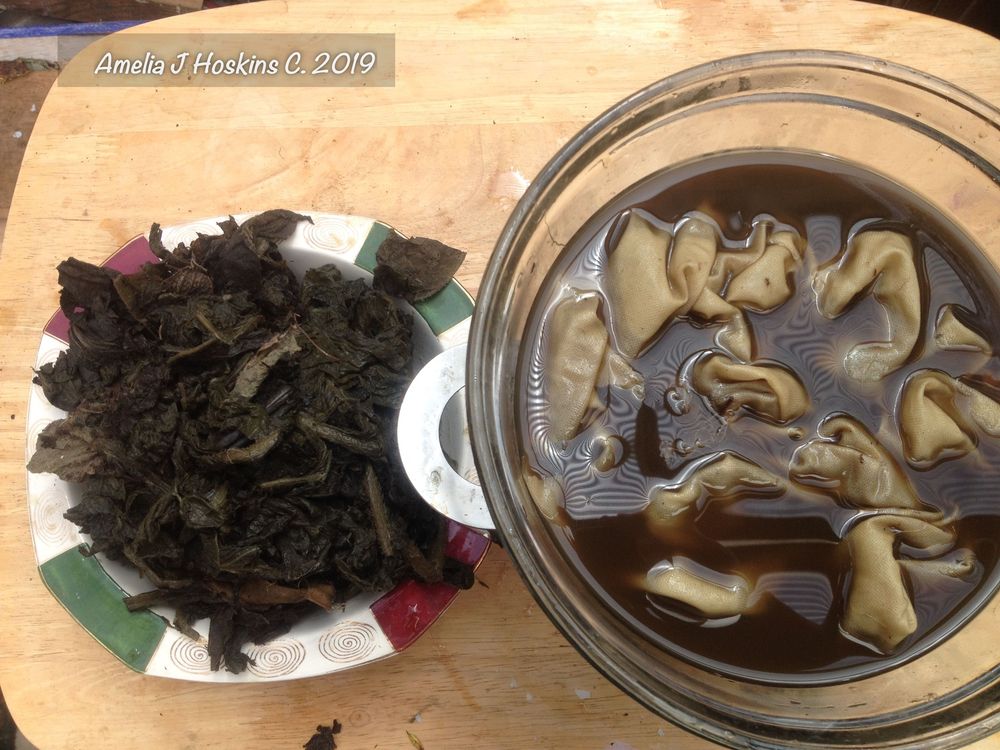
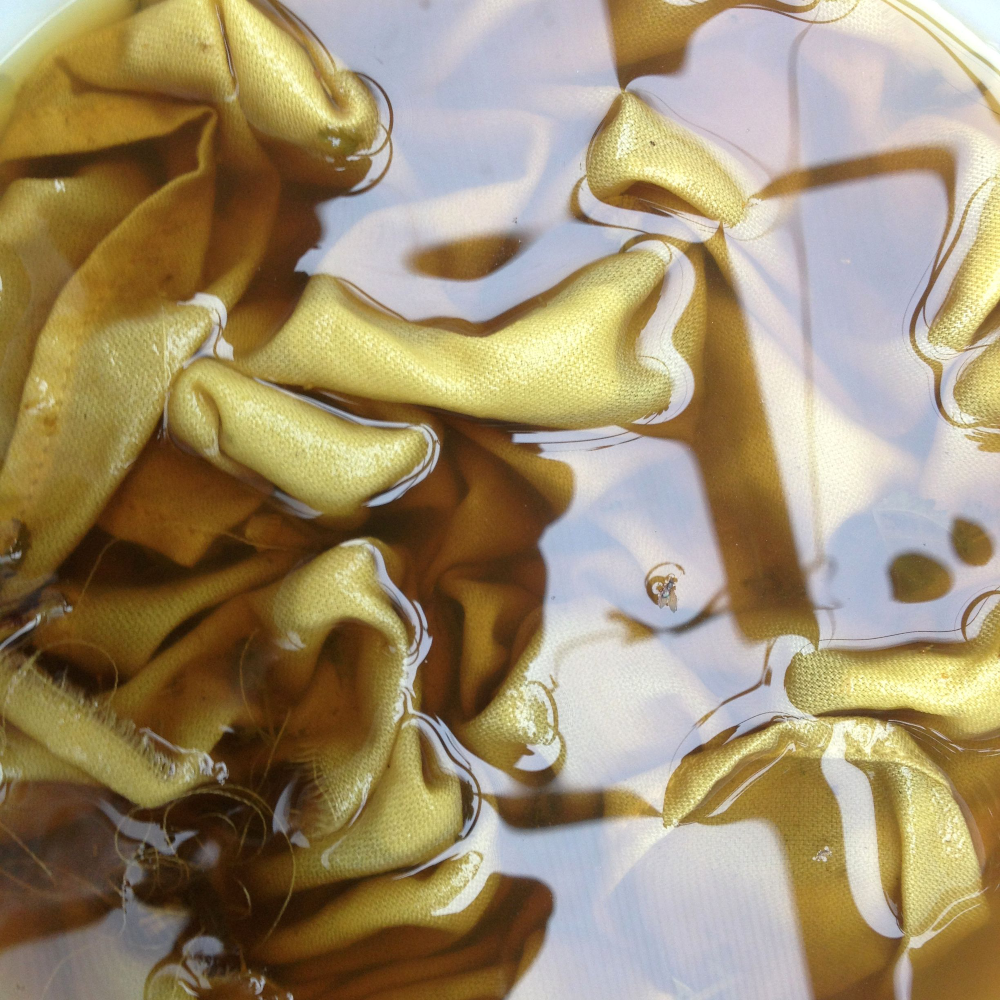
Name ‘Tasmanian Blues’ is derived from Tasmanian origin of the eucalyptus bark (found in Hillier Gardens, Hampshire), used to create a dyebath. Silk collar and patches on garment are hand dyed (Habotai Silk 10) which took the dye bath so well – just soaking for an hour. Bark was previously steeped 24hrs then boiled, simmered for 2 hours, before removing from heat and adding silk.
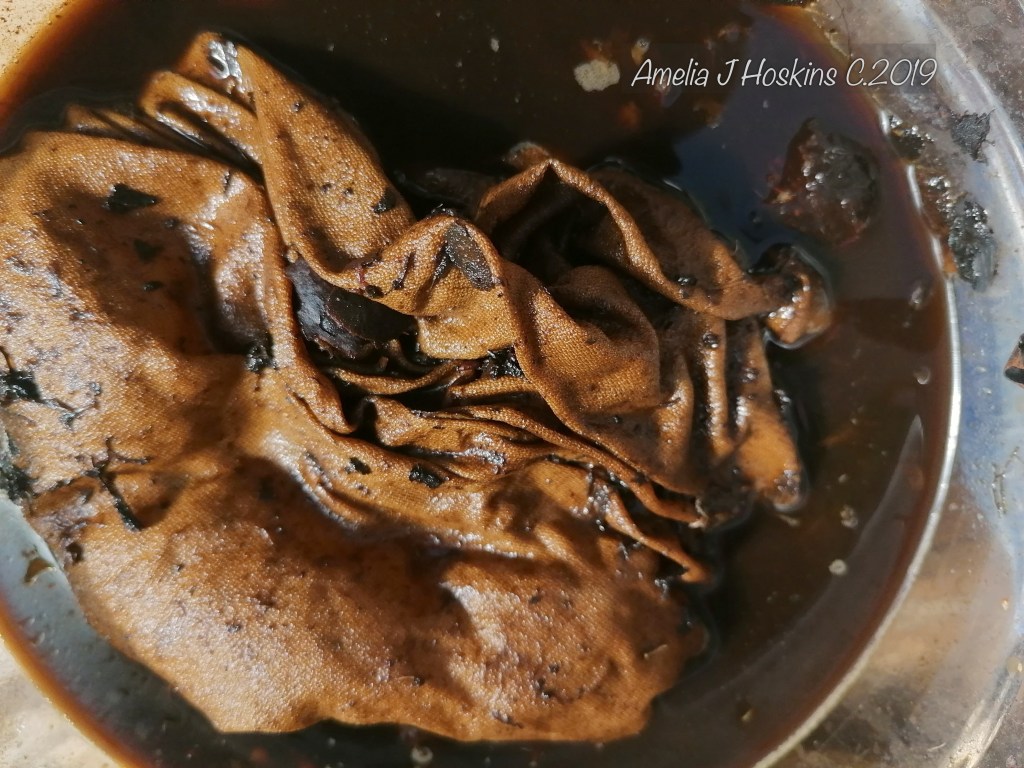
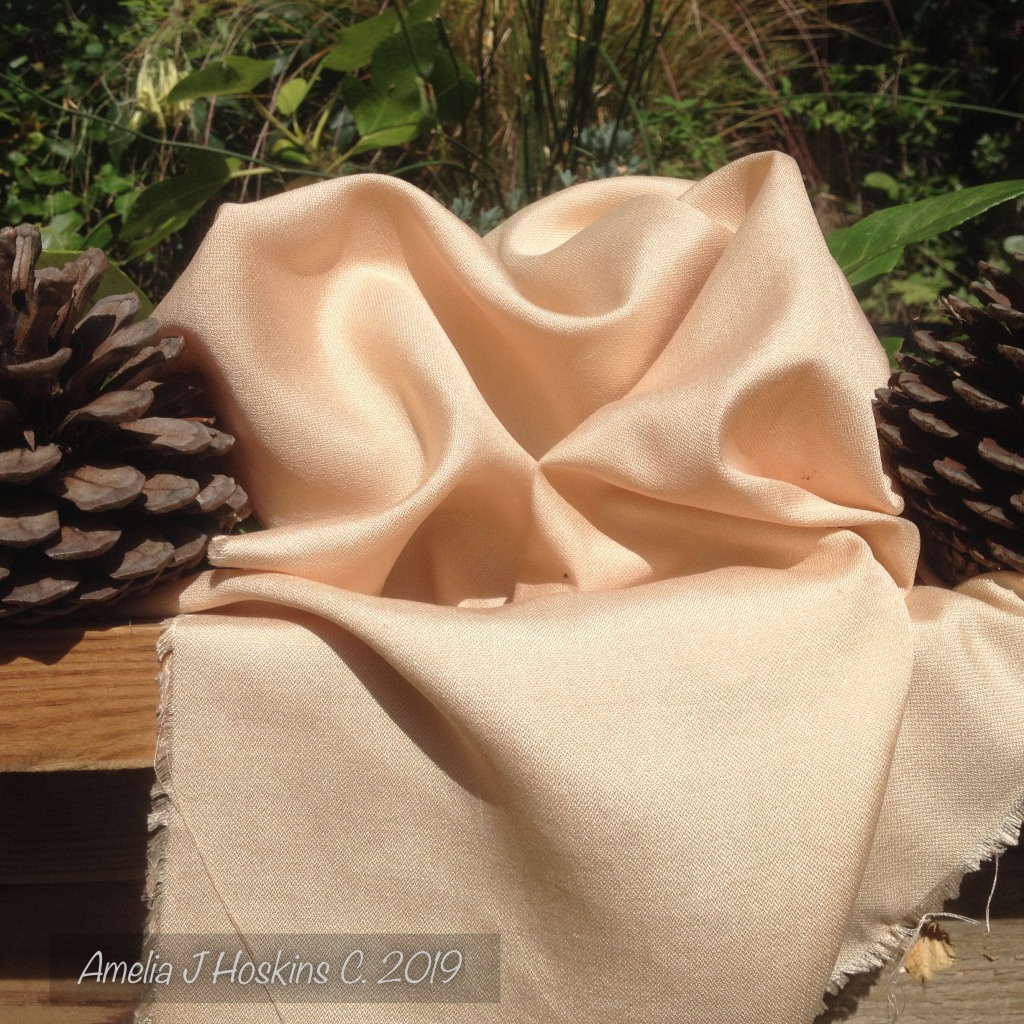
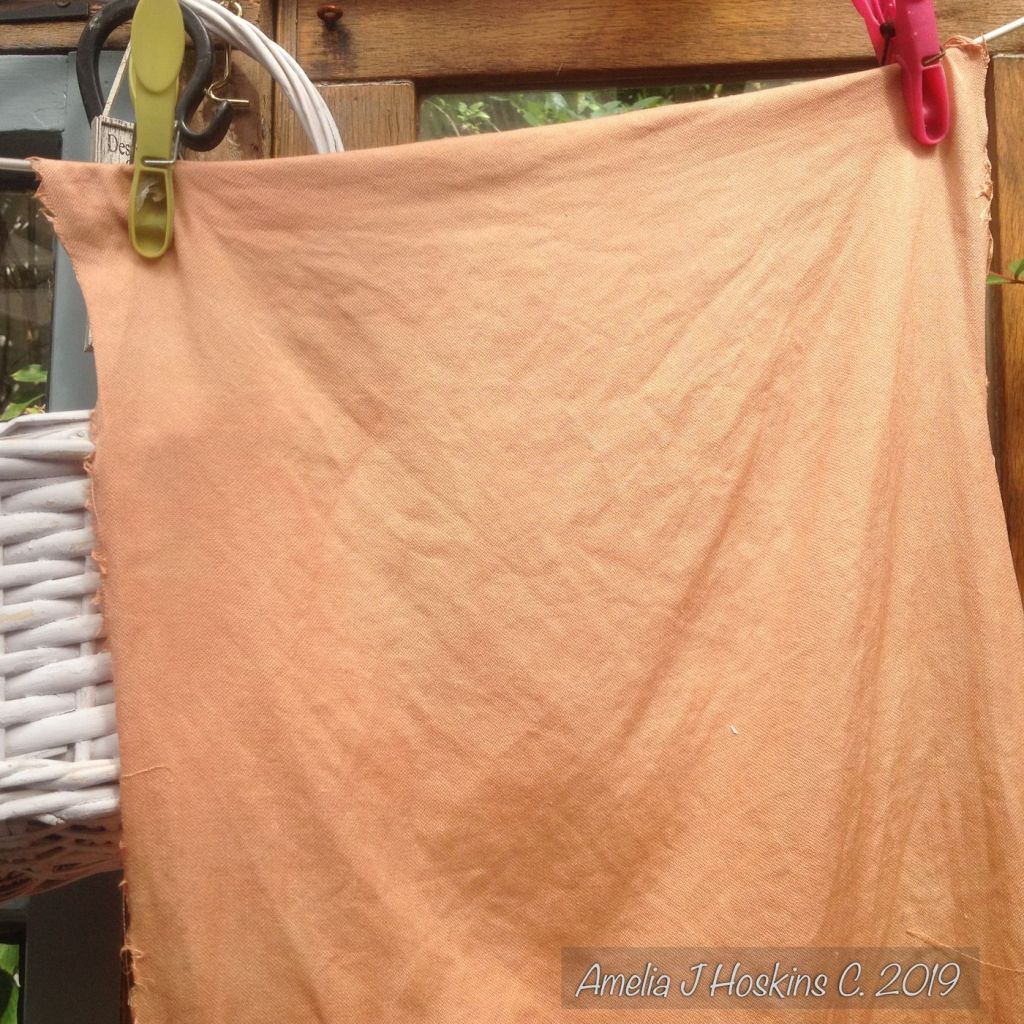
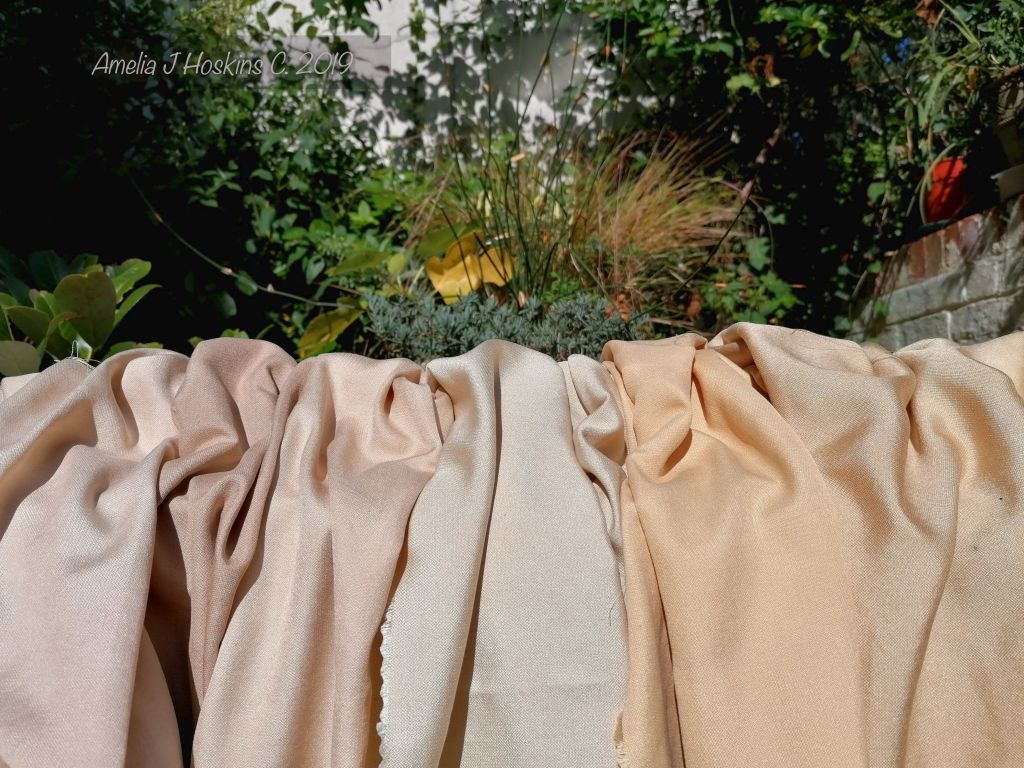
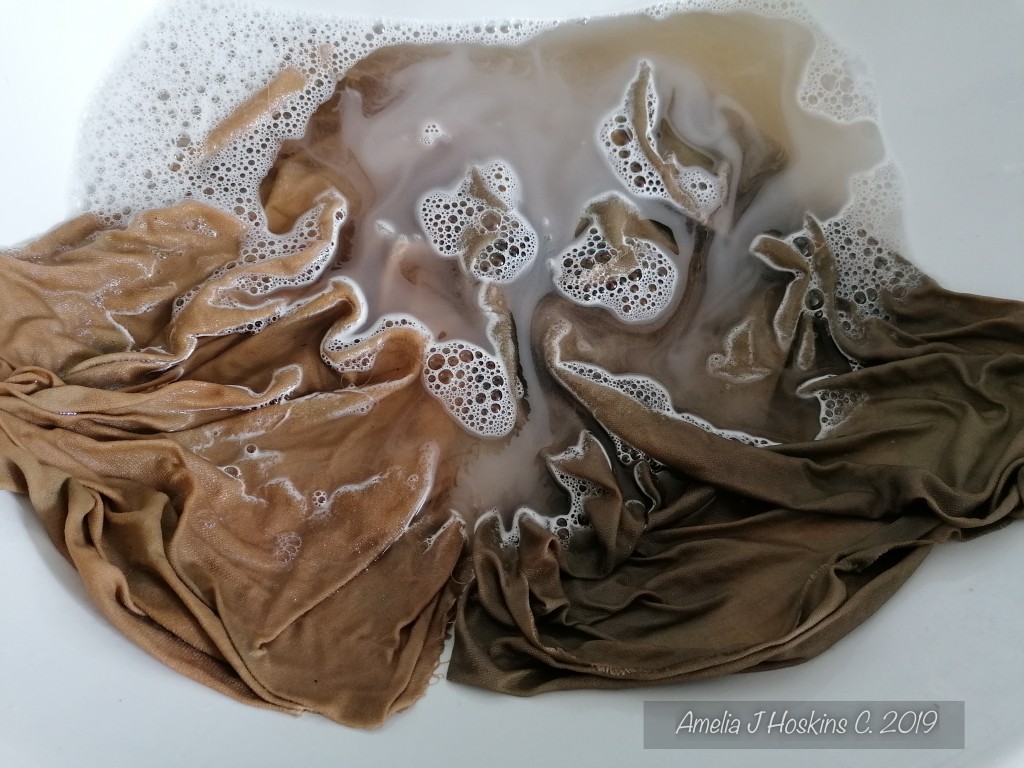
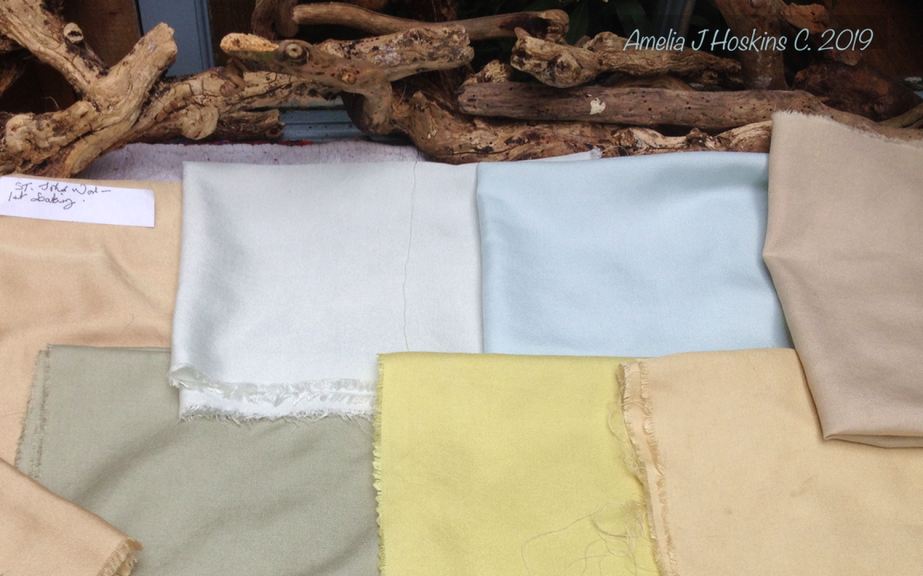
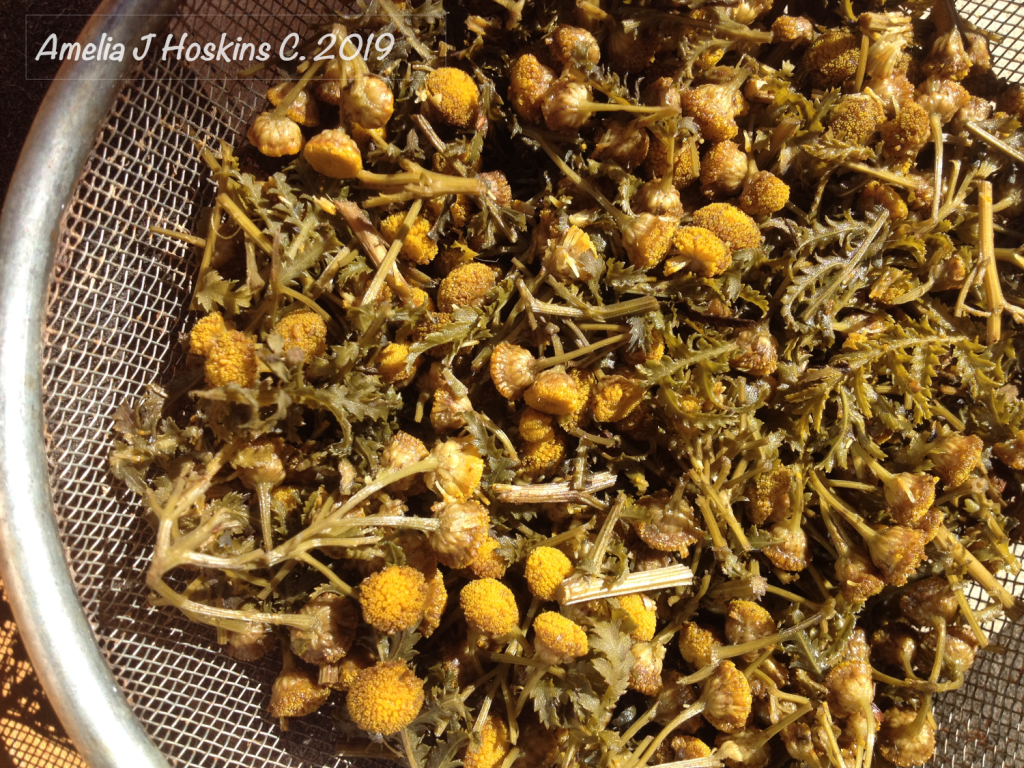
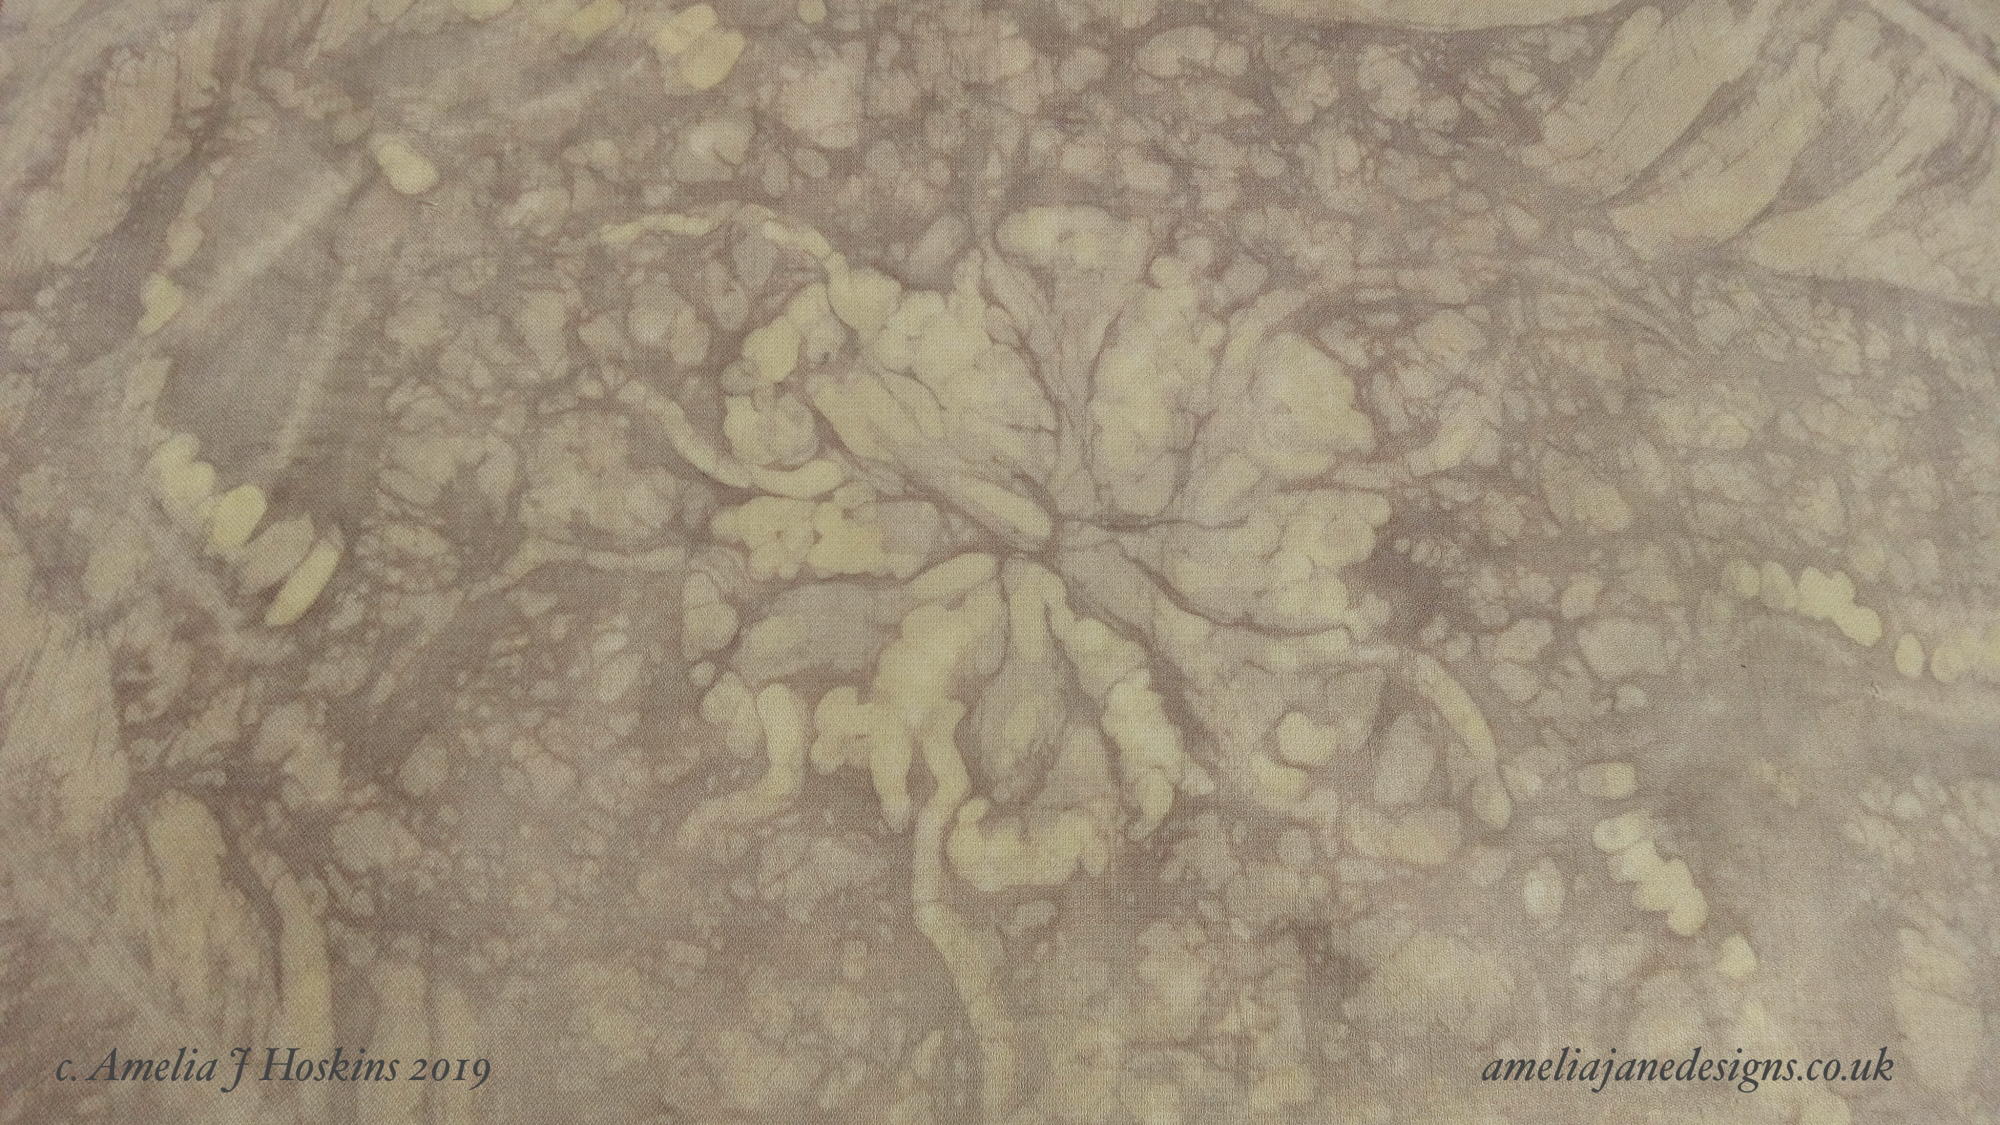
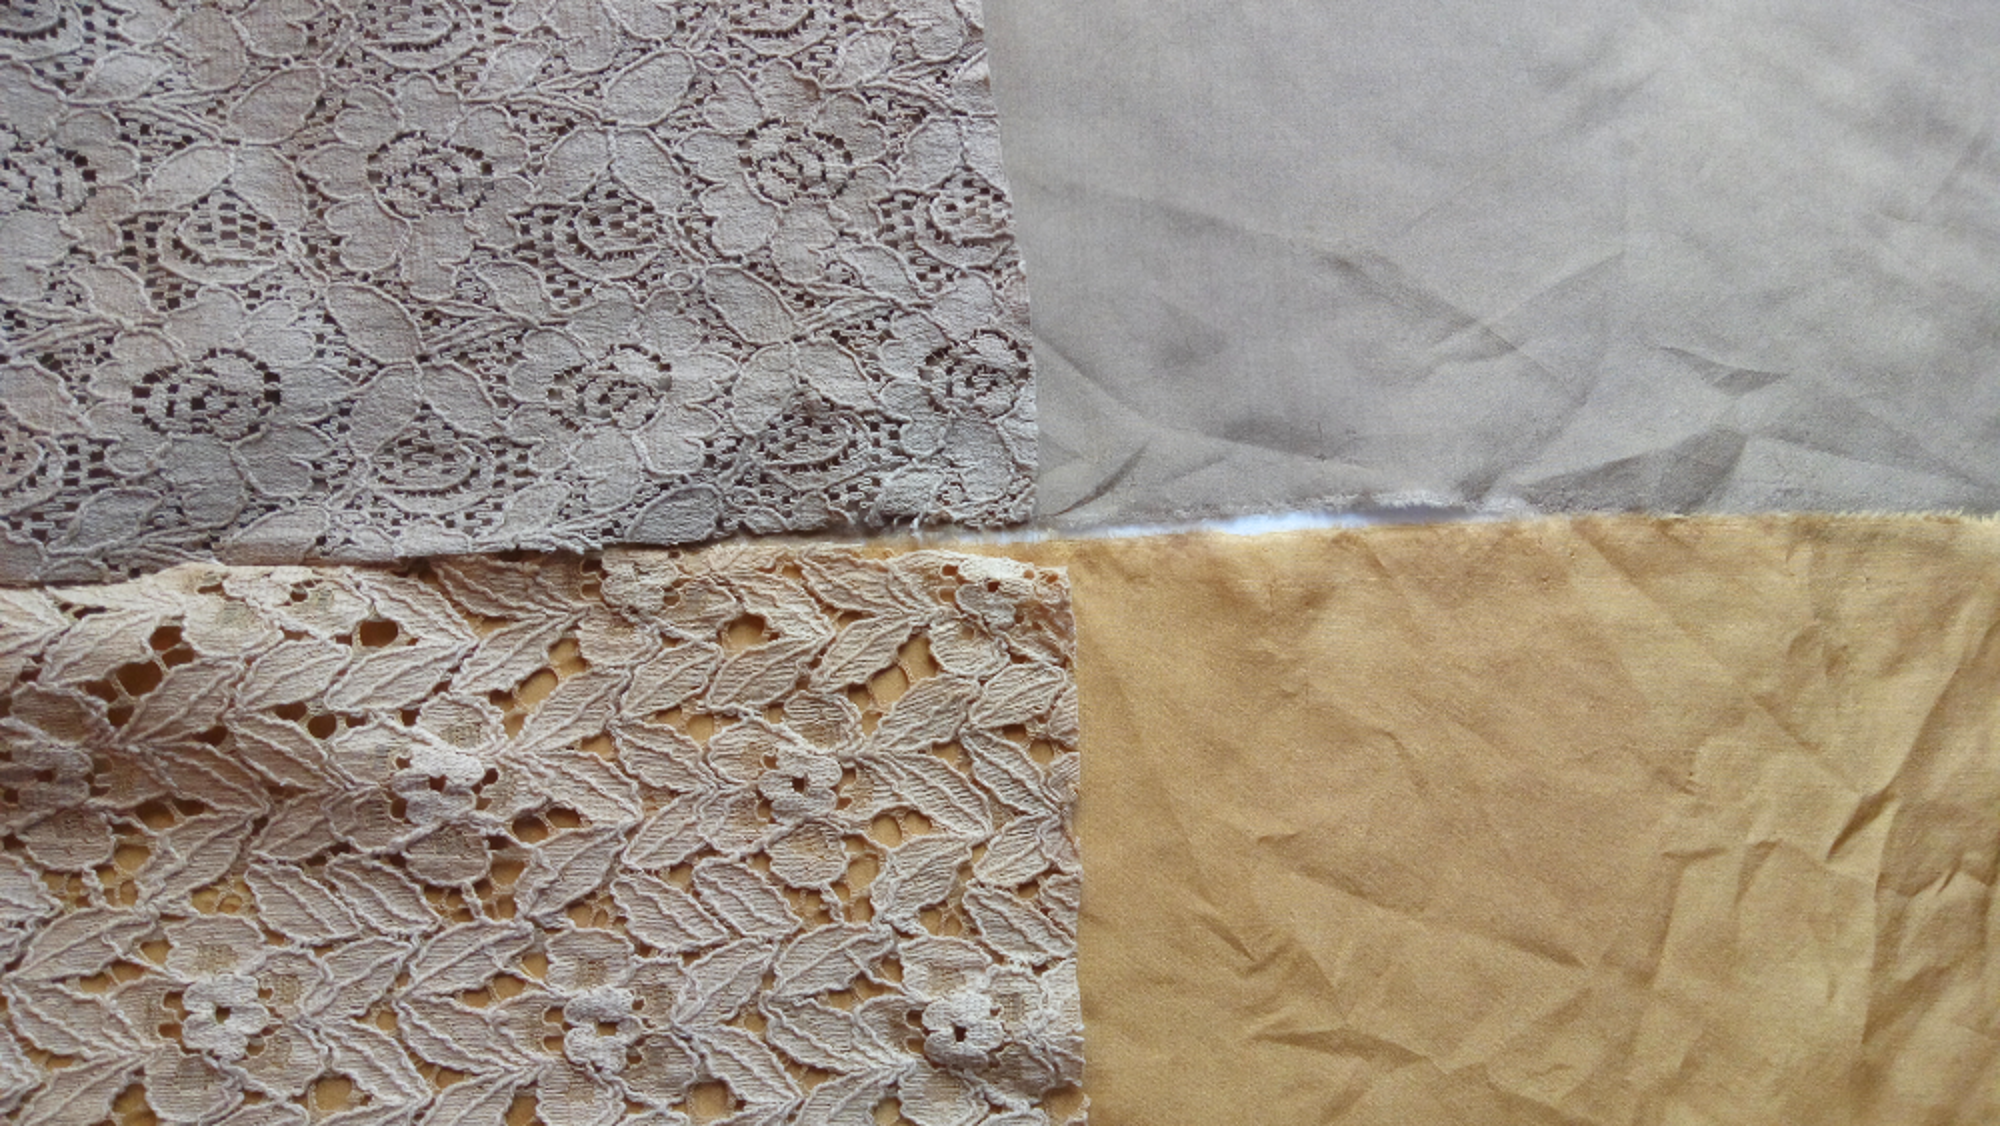
A very deep gold was produced with the eucalyptus bark dye, which shines incredibly richly in sunshine. Lace pieces were left in the dyebath overnight and even though mixed fibres, took on a gold tone. Seed design applique motifs uses the lace dyed with eucalyptus bark.
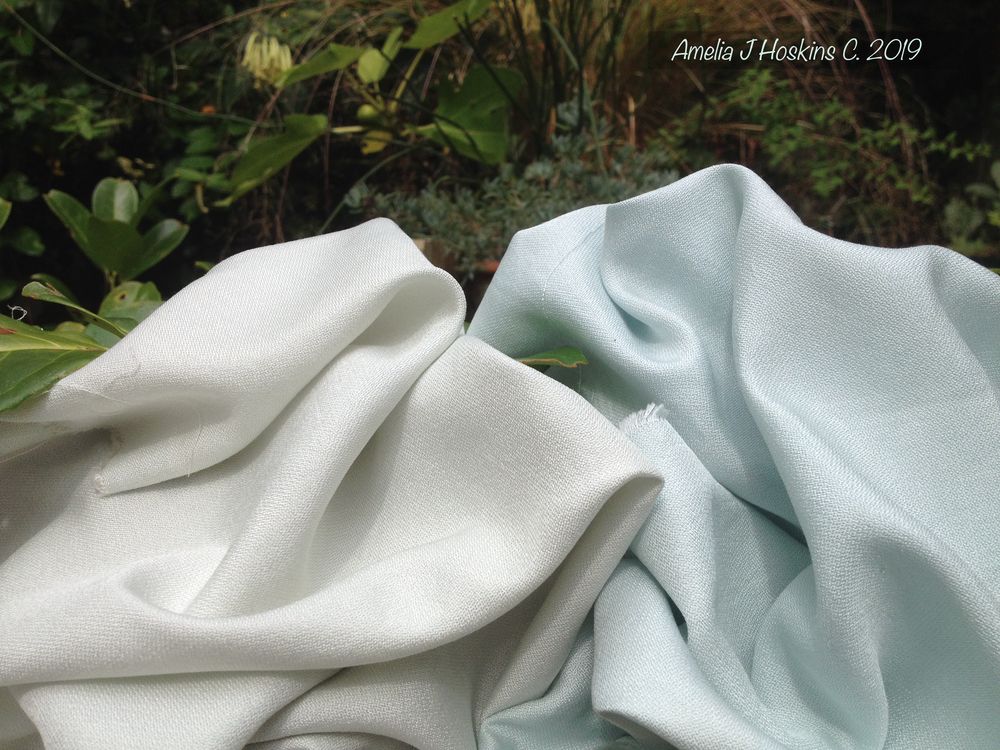
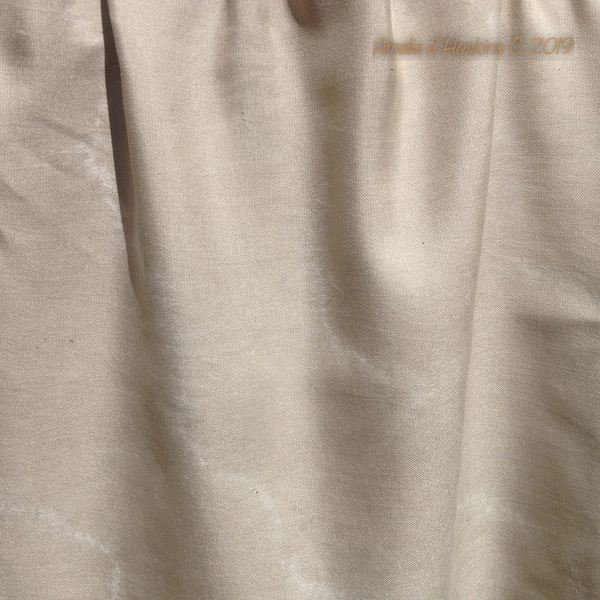
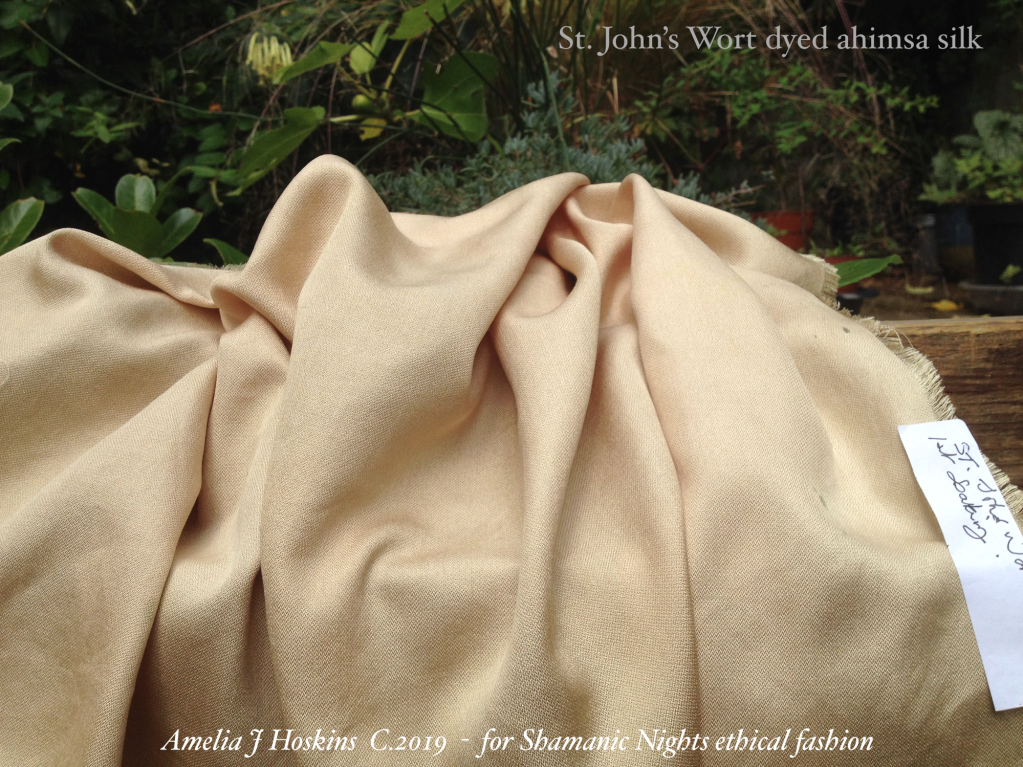
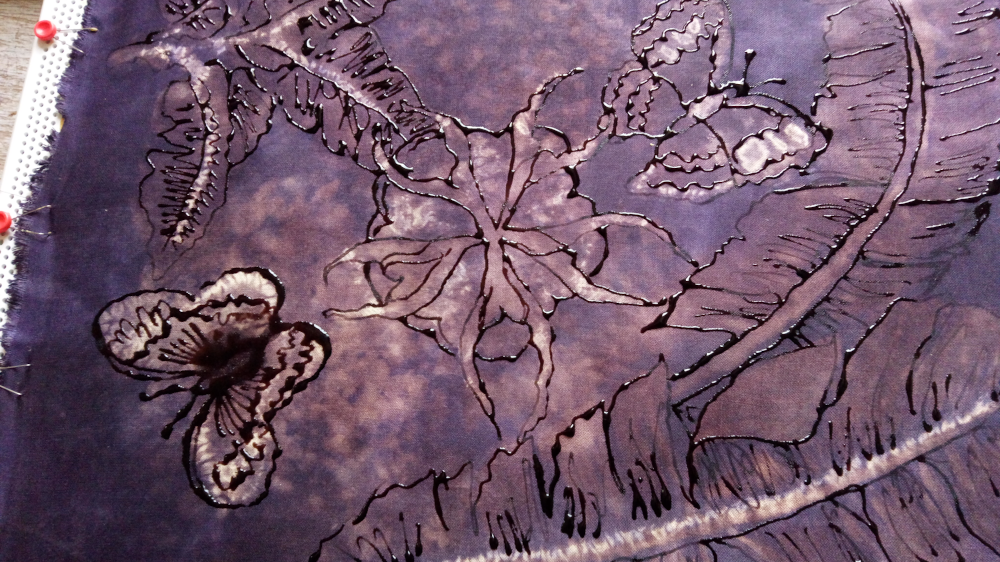
Gold dyed Habotai silk was painted on with Kniazef steam fixed dyes. The gold dye was so strong, that painted dye colours were hard to see, and needed redoing. Even specialised bleach for silk dyes did not work, so well is the eucalyptus dye fixed!

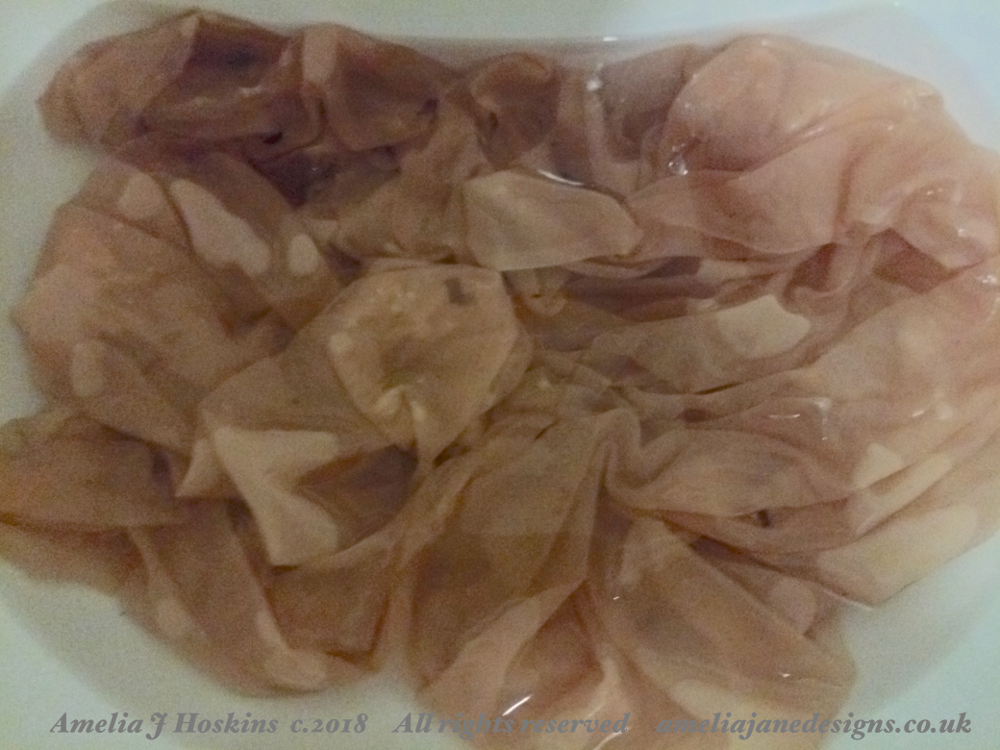
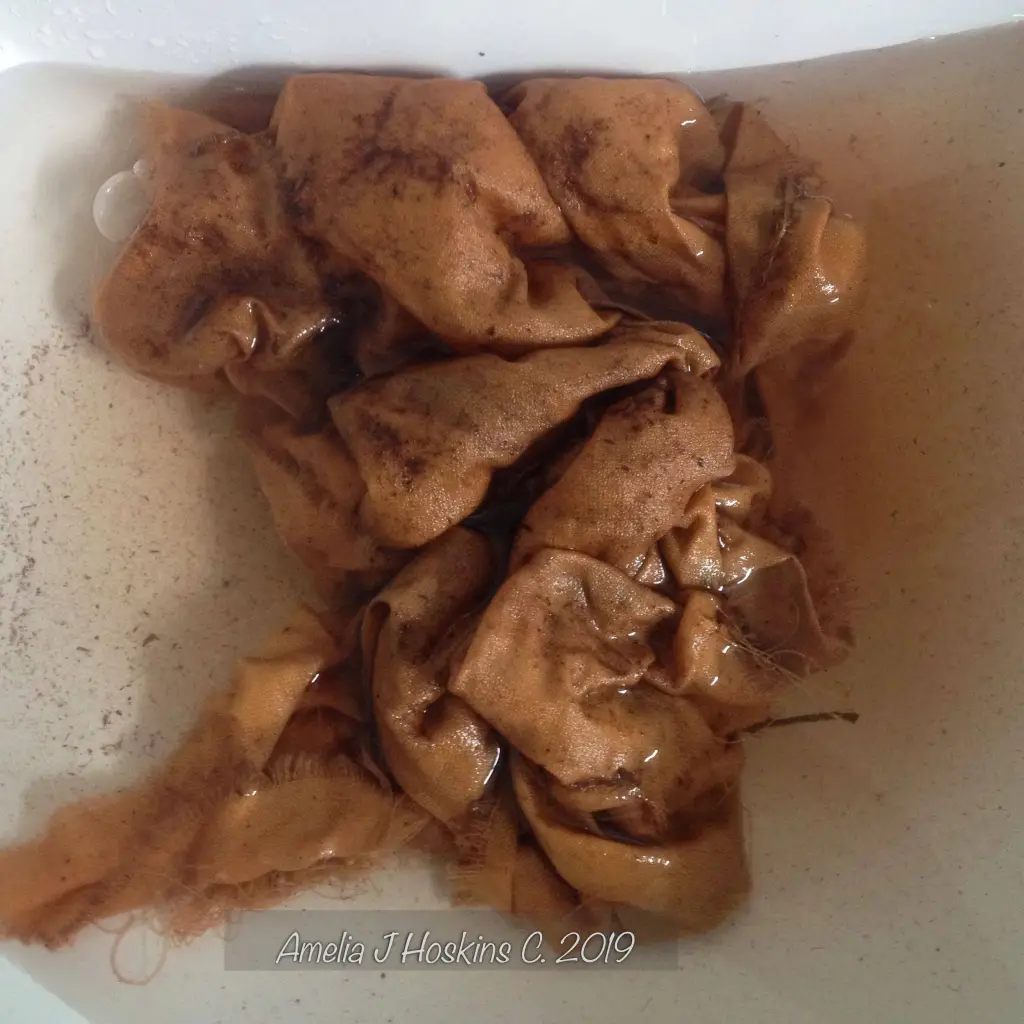
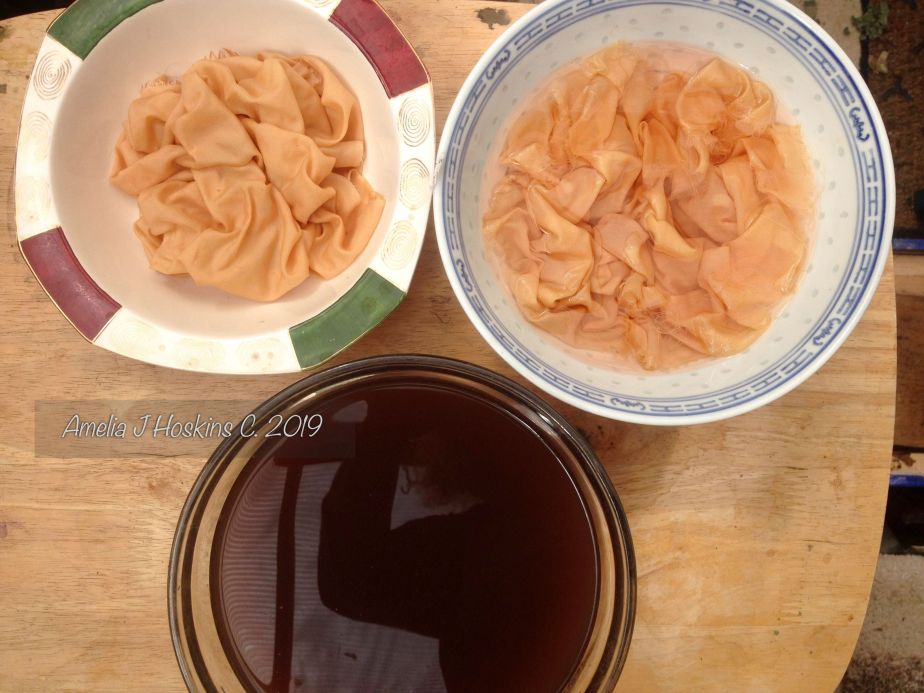
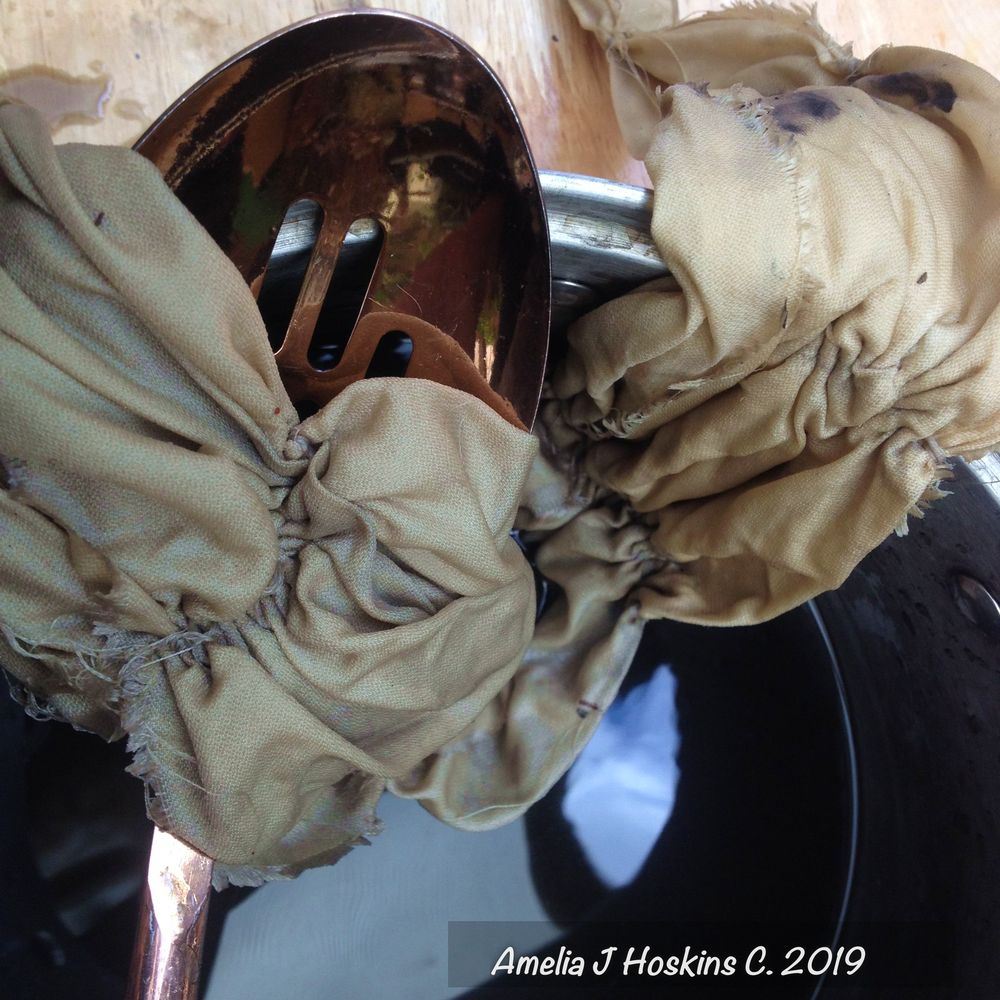
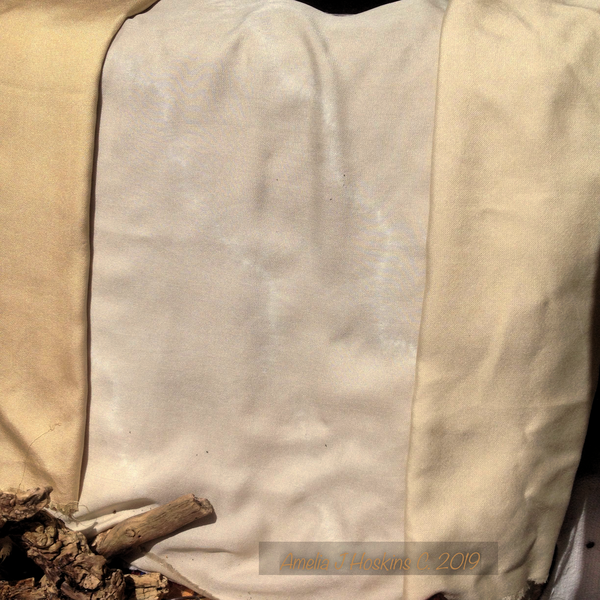
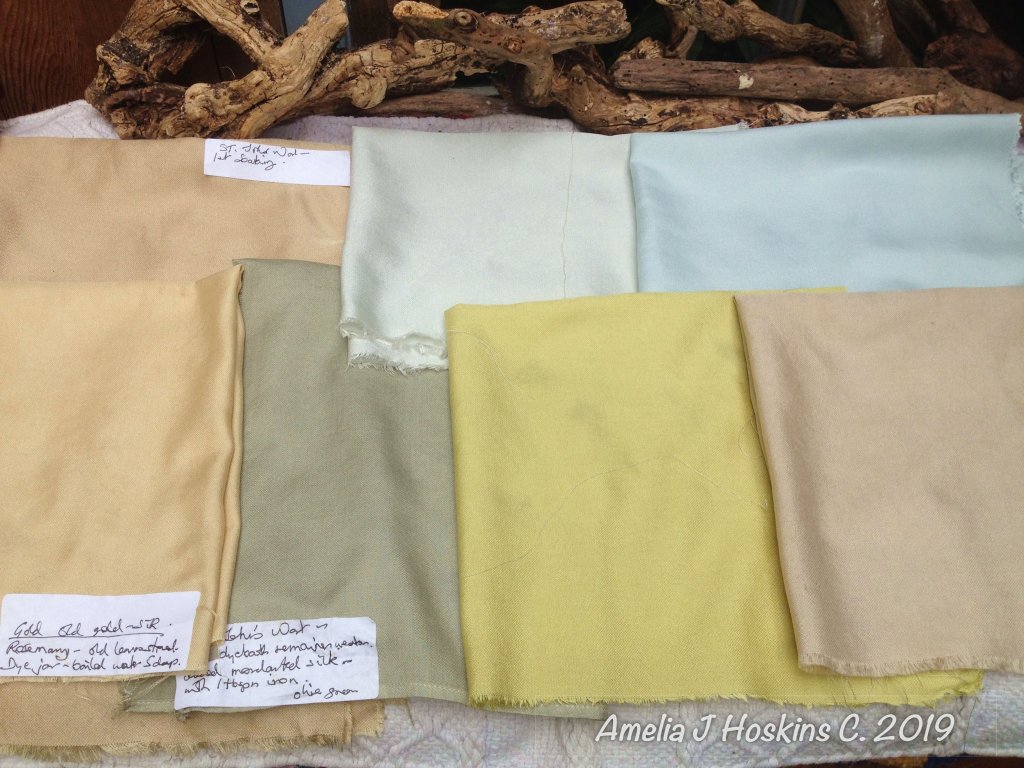
Left piece, modified with iron afterwards. Right piece original dye bath only.
Original dyestuff is bright gold in sunlight, but darker indoors. The darker gold piece is modified afterwords with iron sulphate (rusty nail liquid). Bottom right shows lace pieces dyed in cold dyebath overnight.


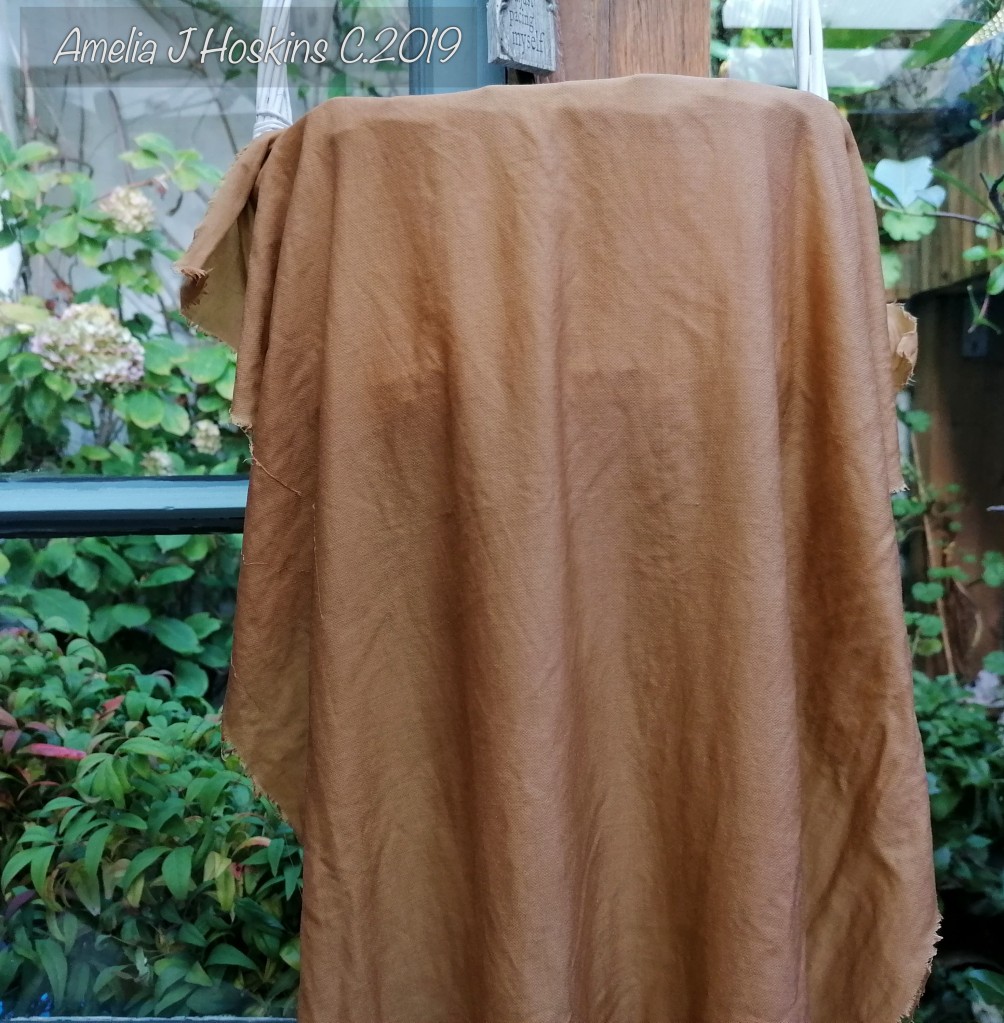
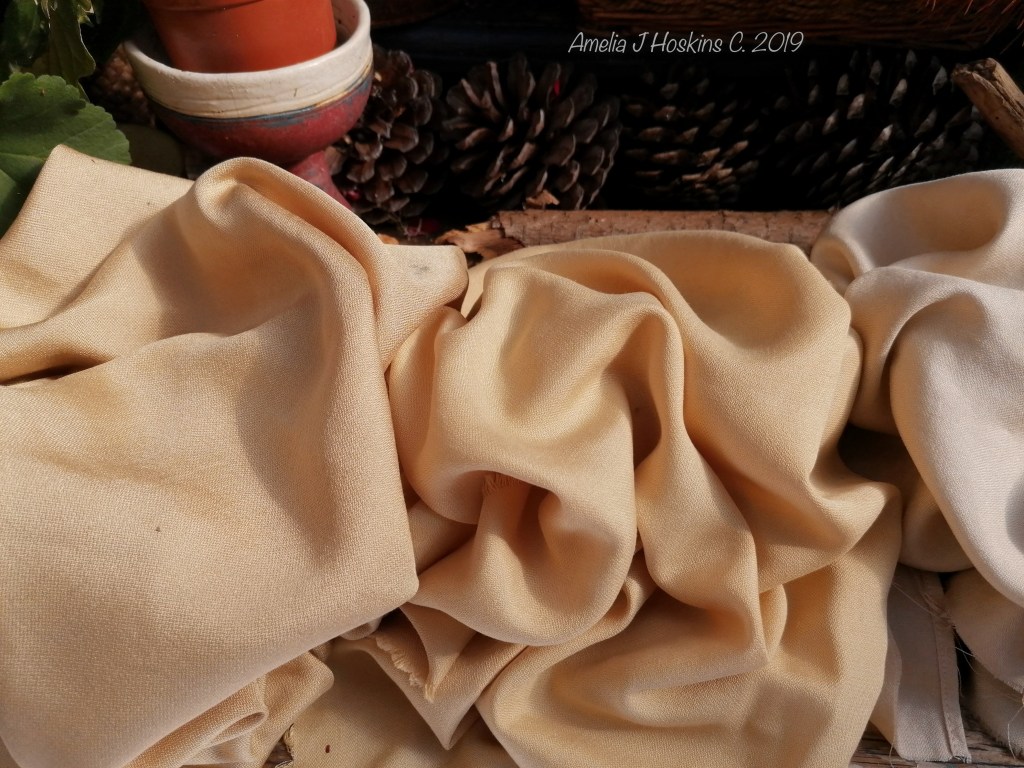
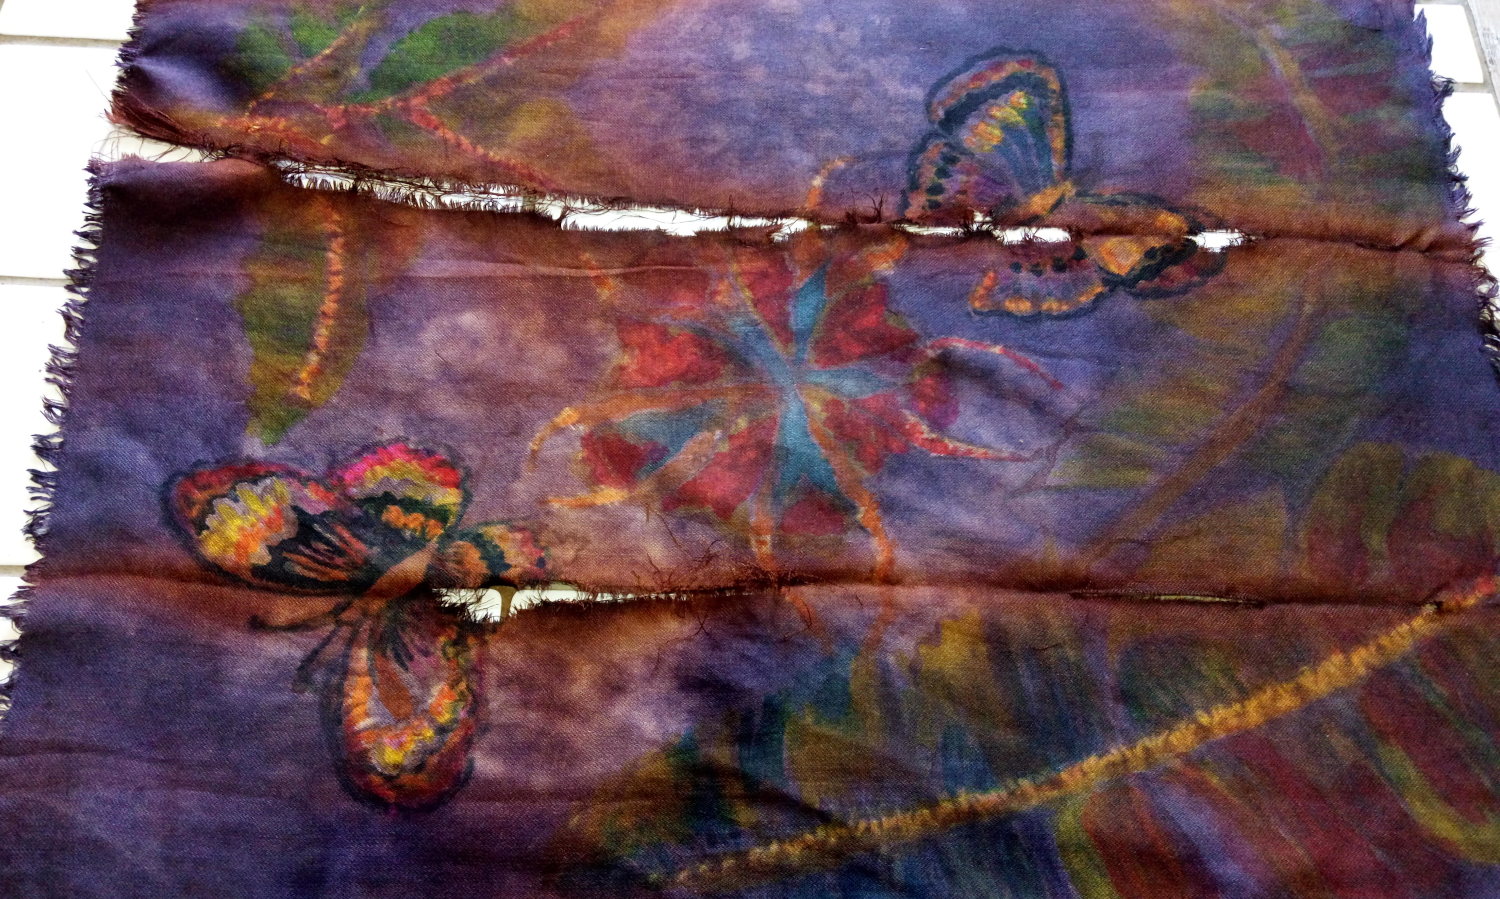
Gold dyed patches featured
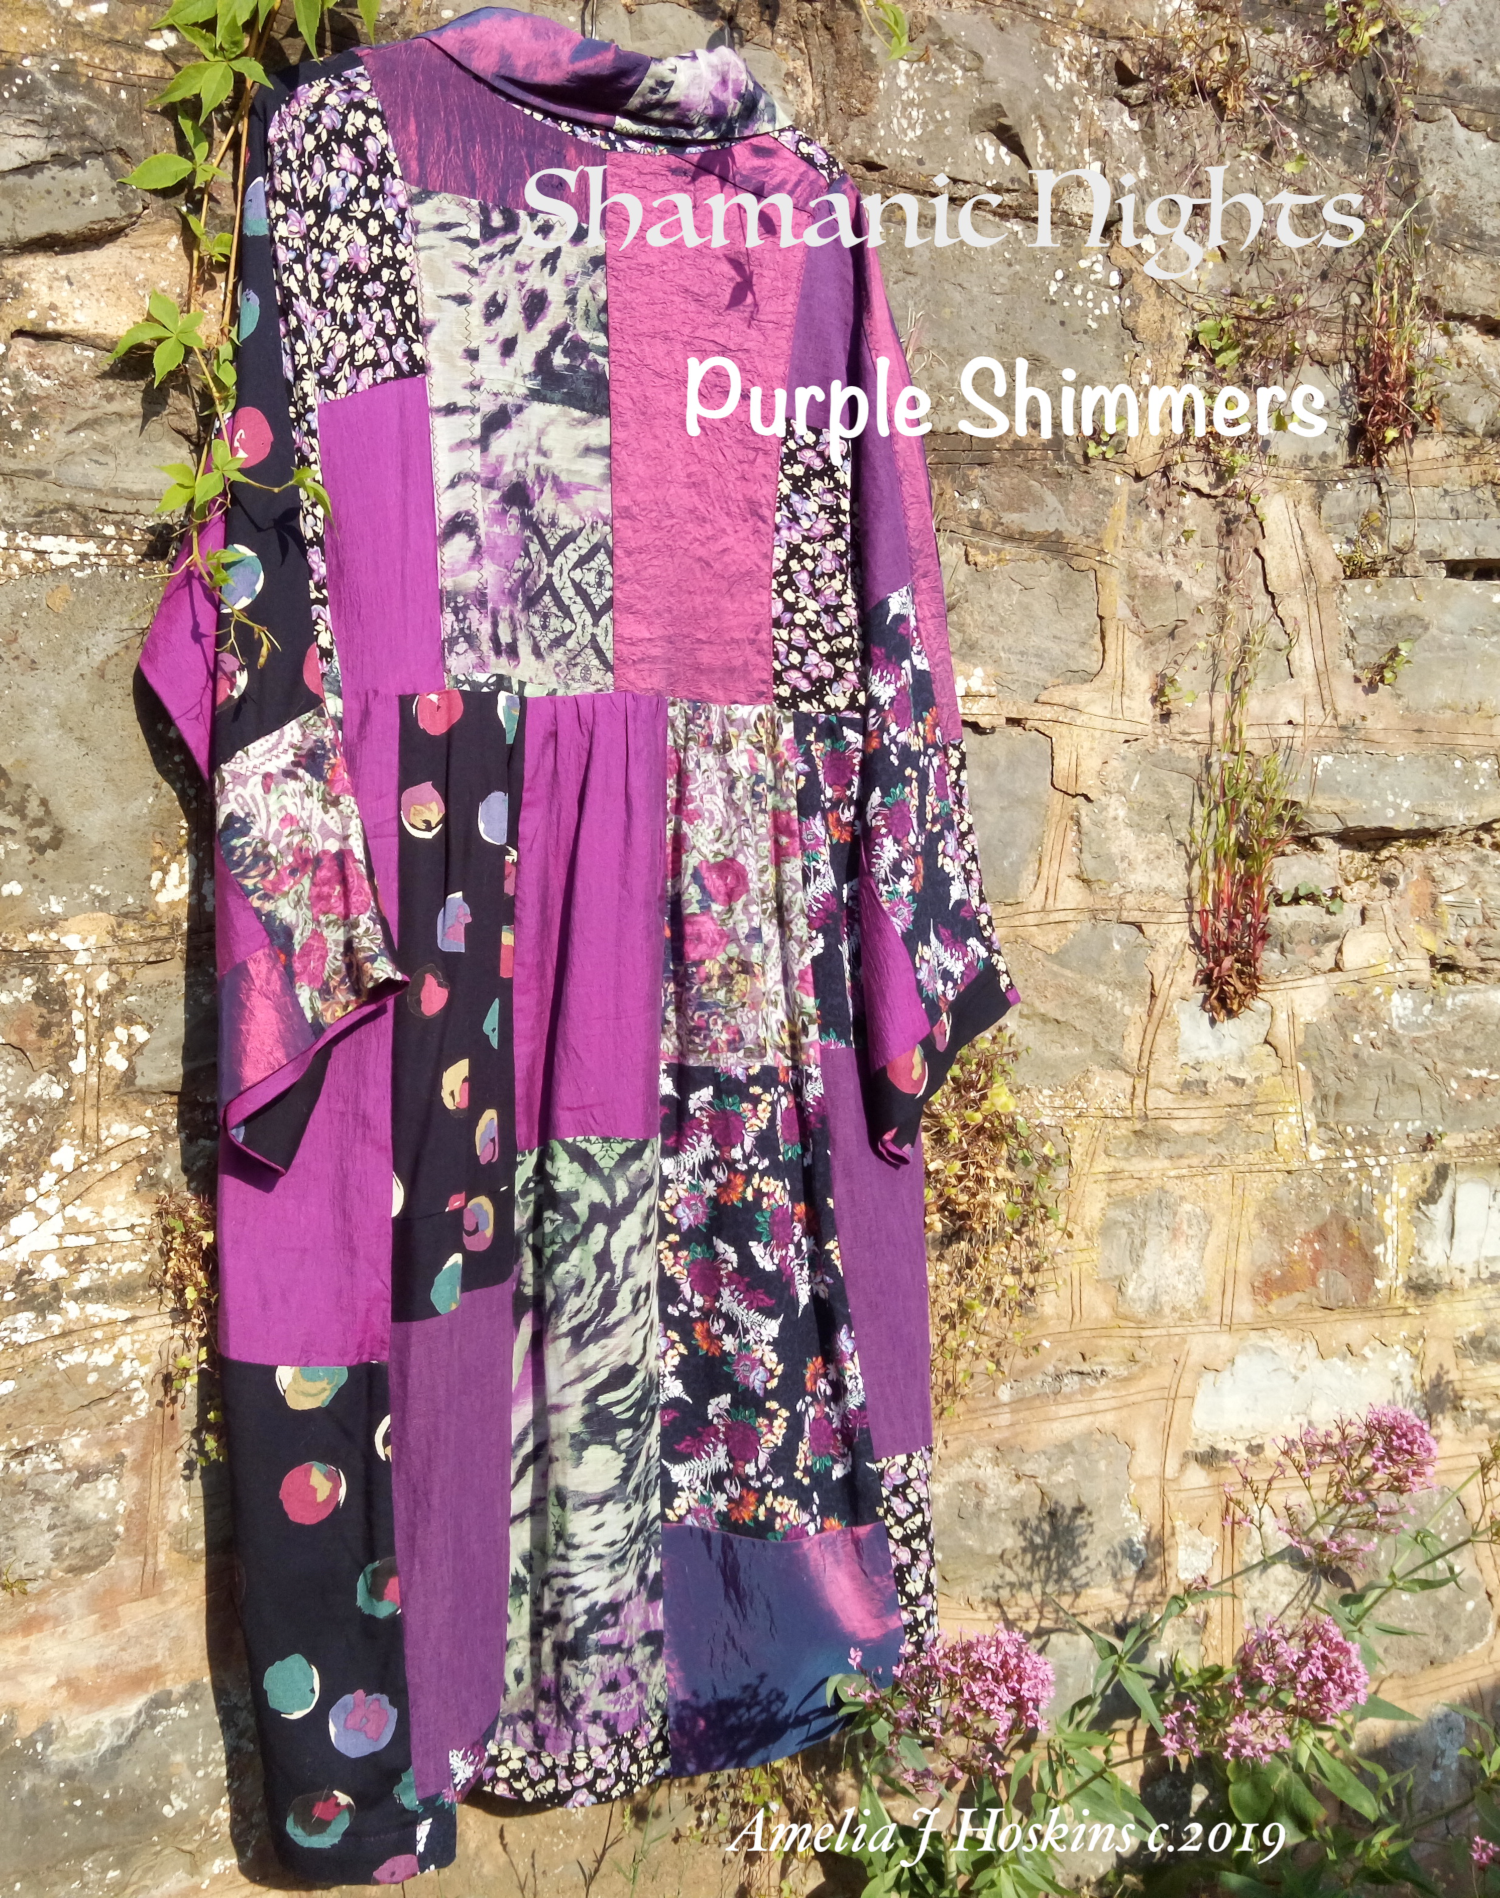
Story of patchwork blues.
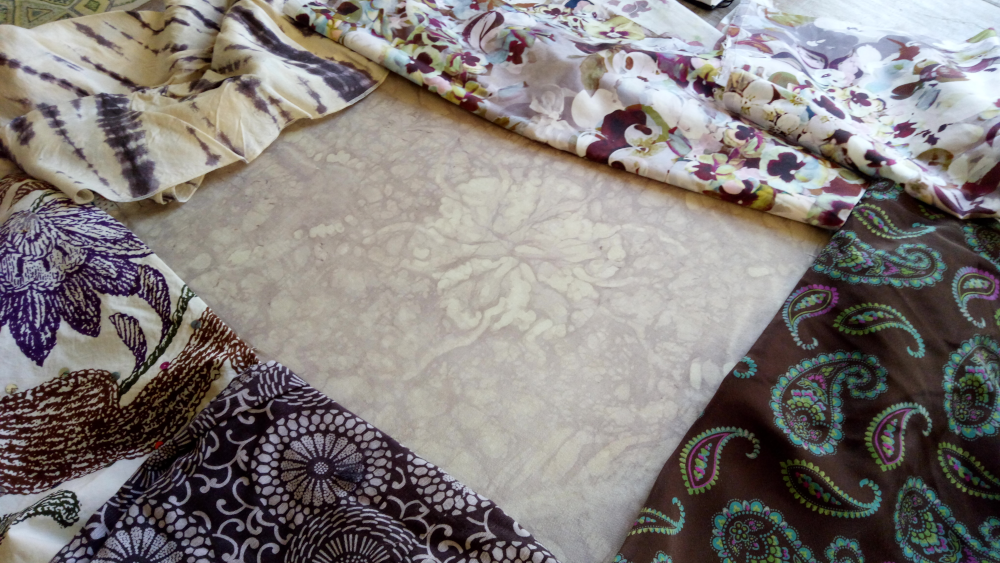
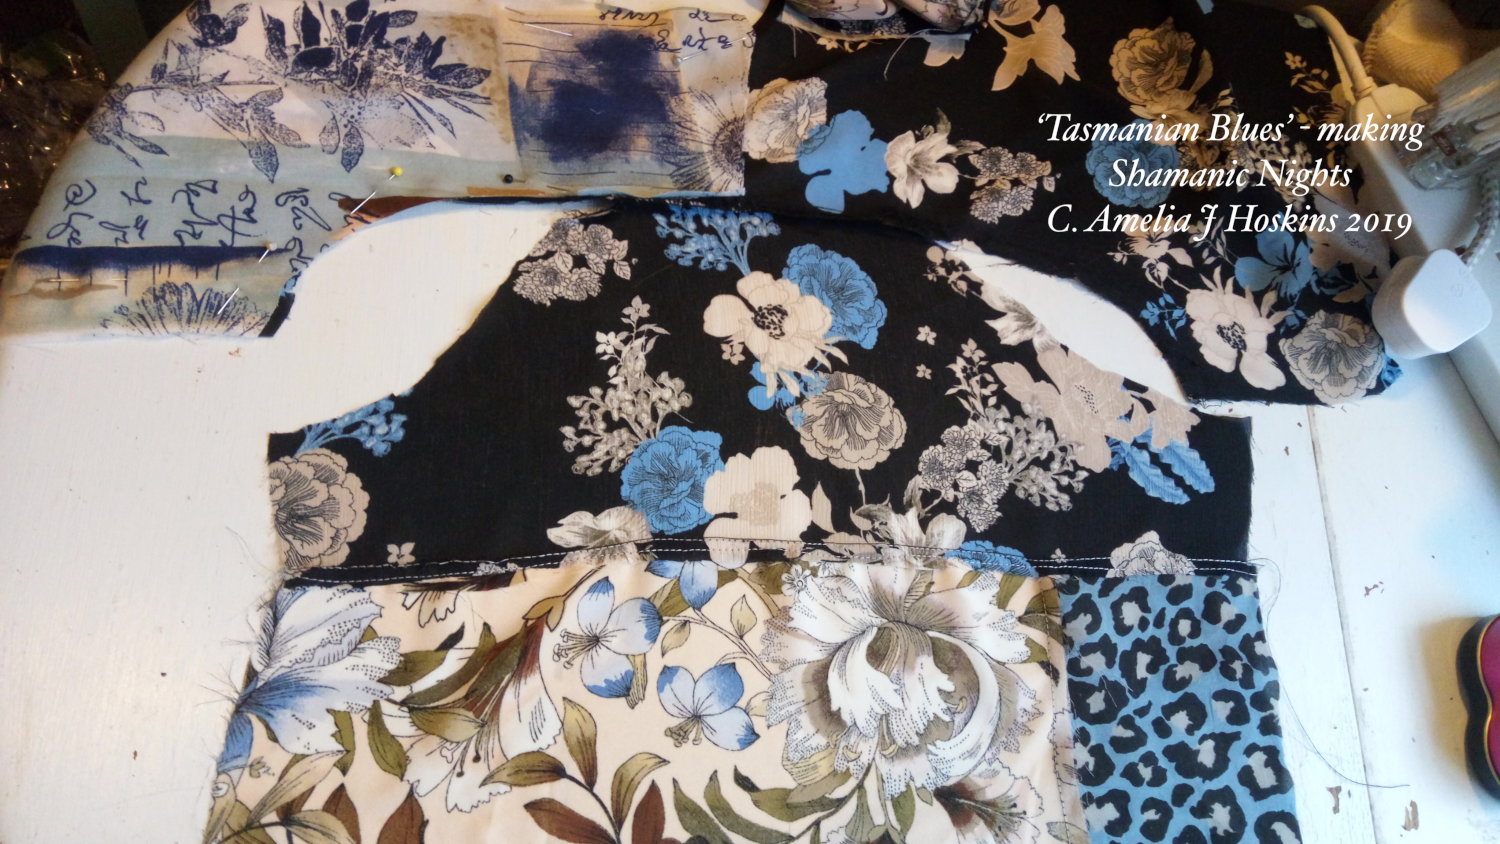
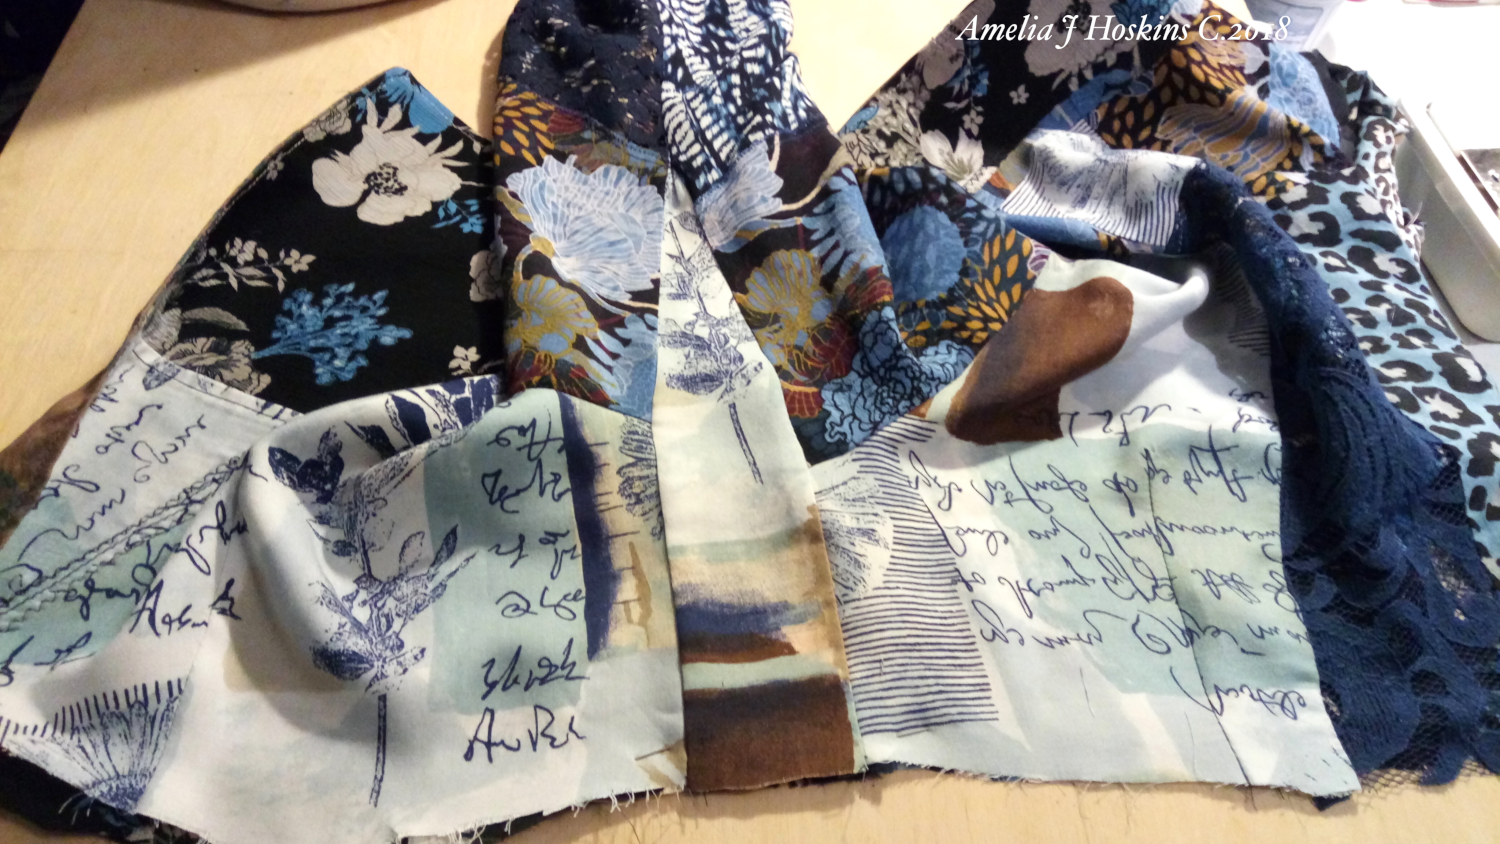
I chose the blues to go with the gold silk, because 3 of the prints have gold areas with blues. Blue and gold are a classic mix, setting off one against the other.
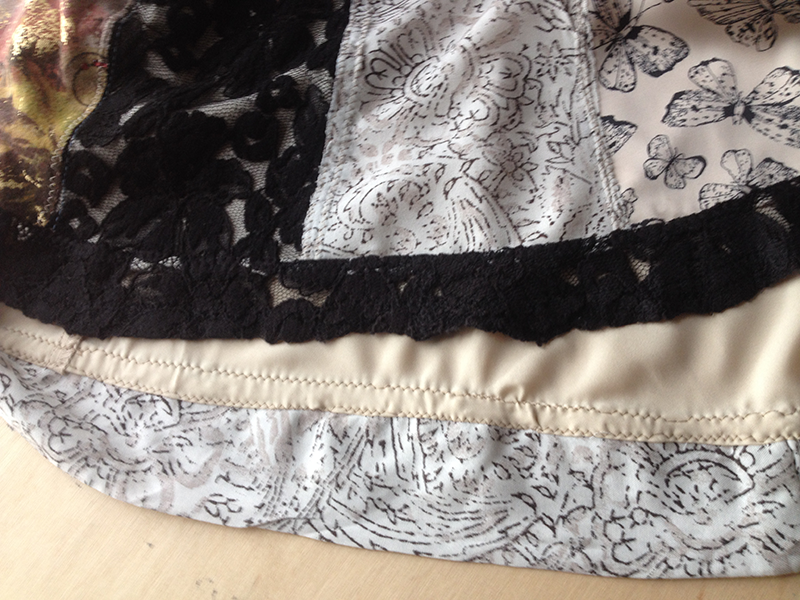
Front buttoning strip features Chinese style print of Phoenix bird (right side) and tail of dragon (left side) which looks attractive as a focal point.
Two fabric prints have animalistic feel: the leopard or cheetah in blue/grey/black, and the navy blue/white ‘pheasant’ feather print. The blue lace was the right colour to add in. The light blue with text also has navy and some brown which blends in. By putting a variety of fabrics together, a new design idea comes alive. Phoenix and seeds could be a new theme.
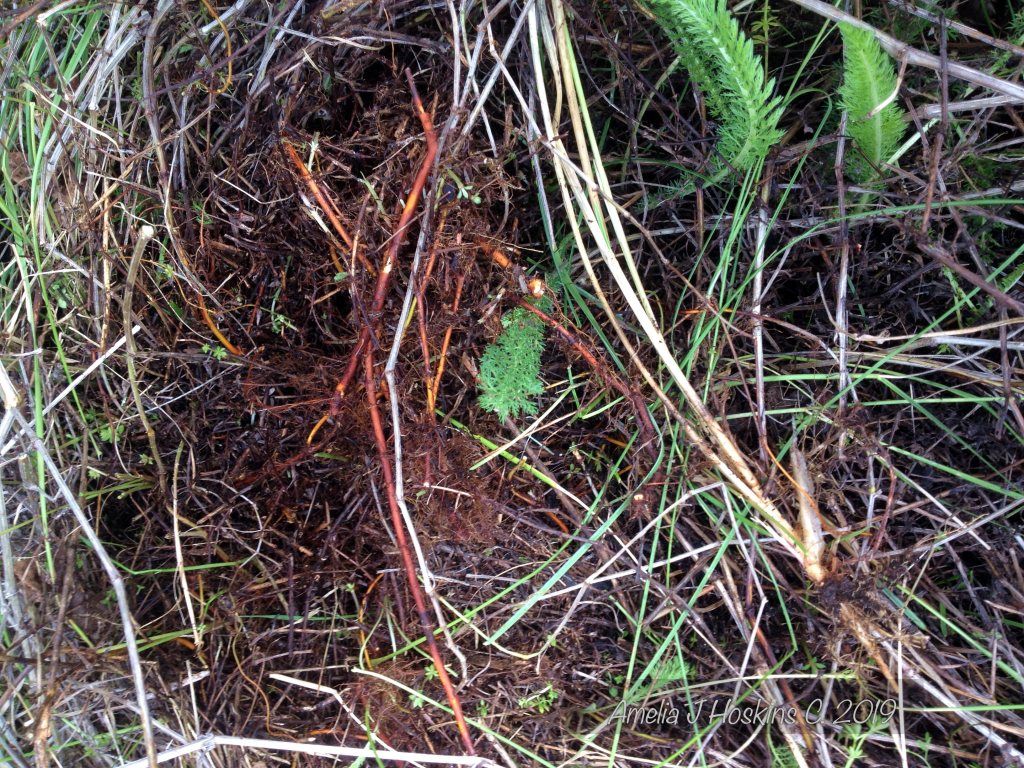
Applique seed motifs

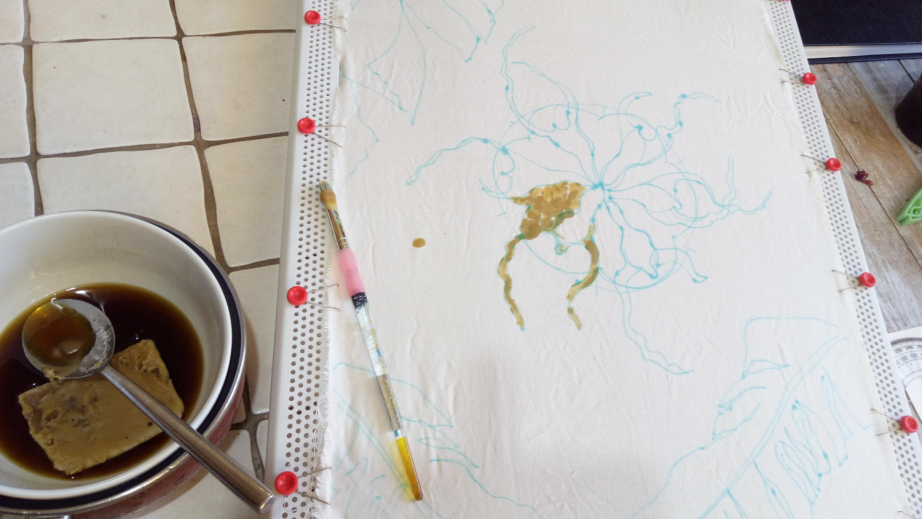
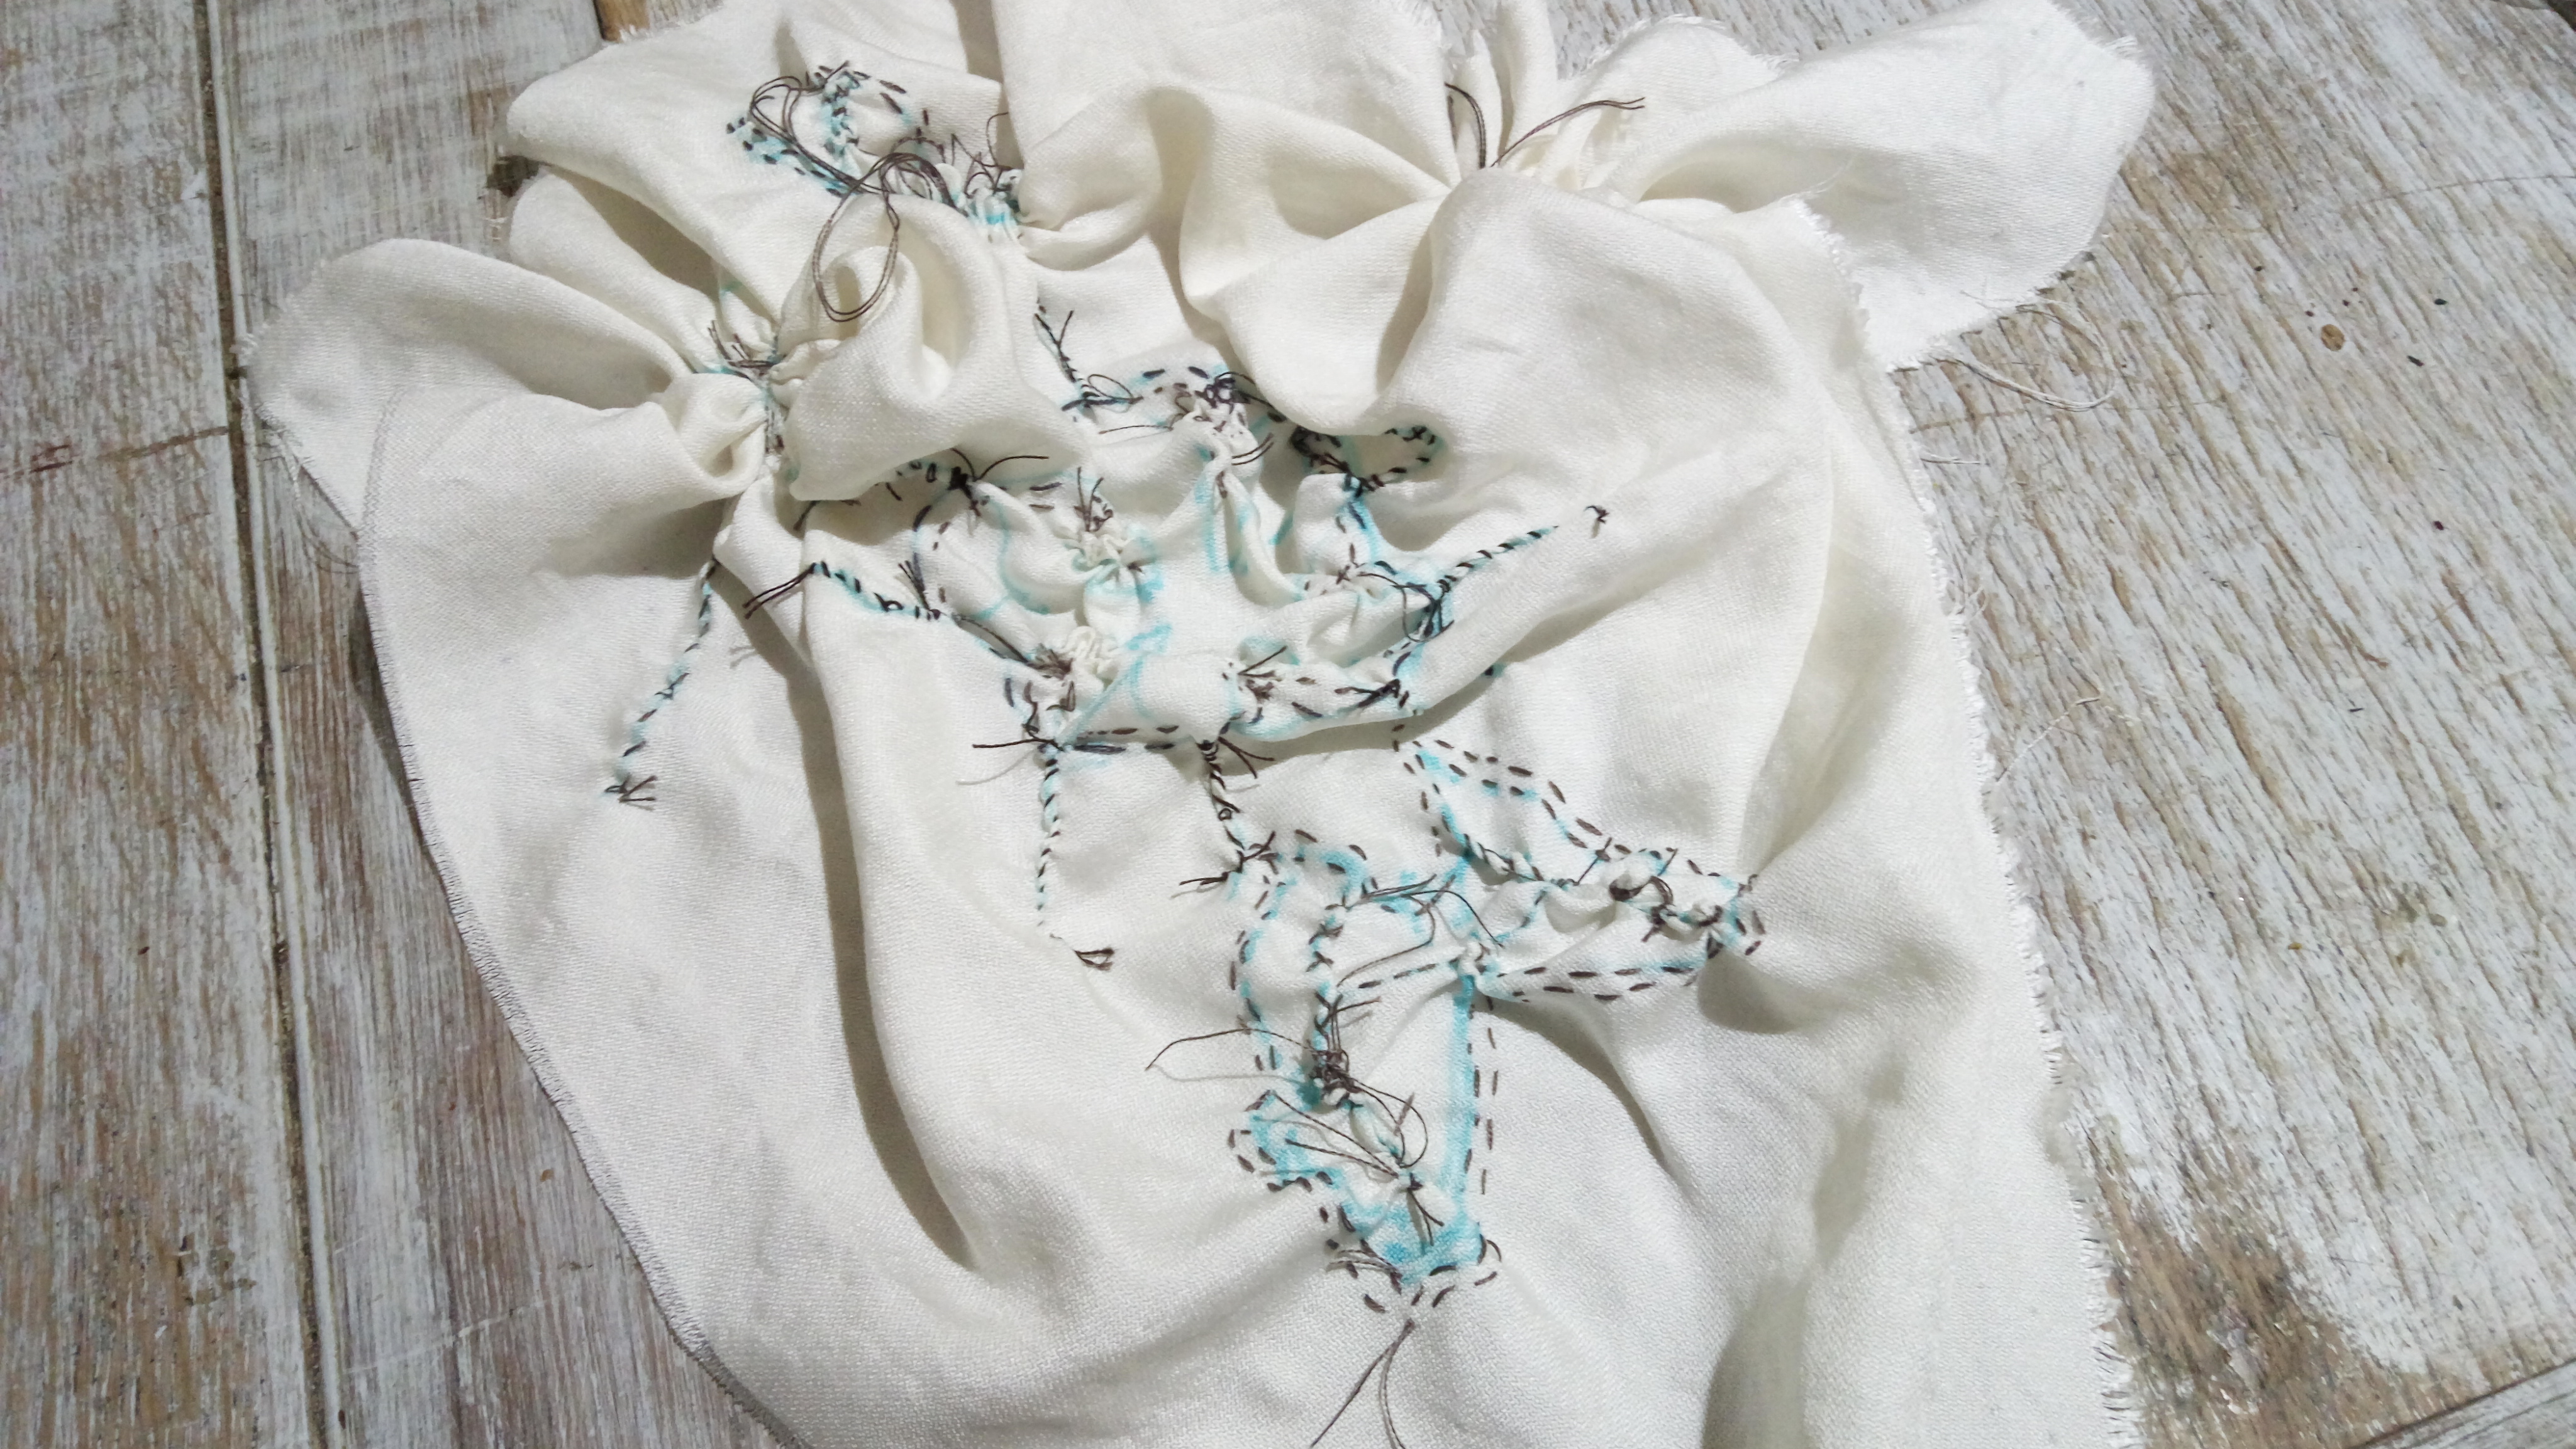
Using the eucalyptus dyed lace, emulated the texture of dried seed pods. Centre seed capsule part (in shadow from photo/drawing) is shown in dark gold dyed silk remnant on right-side garment, and left-side garment shows a lighter silk, bundle dyed from various seeds and dried flowers.
Making steps: ‘Tasmanian Blues’
Garment started by using a polyester dress as LINING. I kept the cross-over ‘V’ neckline and fitted my fabrics to it. NOTE: its useful to have neckline and shoulders of a lining garment to start off with. Once patchwork is attached to that, patchwork can simply continue down to hem. Its very useful to use a bodice top from another garment as lining to fit sleeves to. I often make an under bust, high waistline seam below the length of an upper patched piece, darting under bust; also optionally at back for better fit.


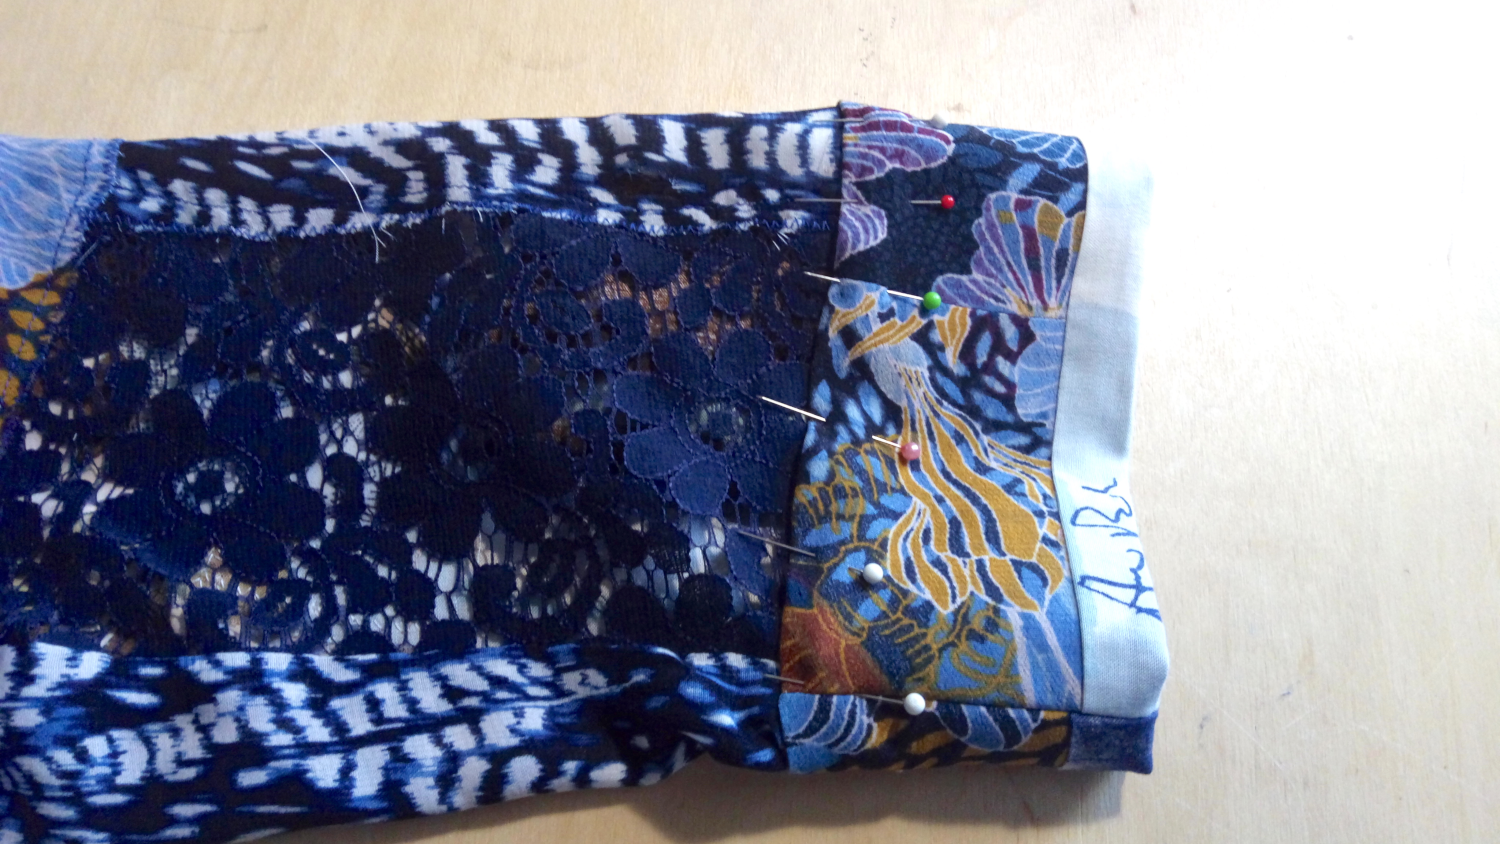
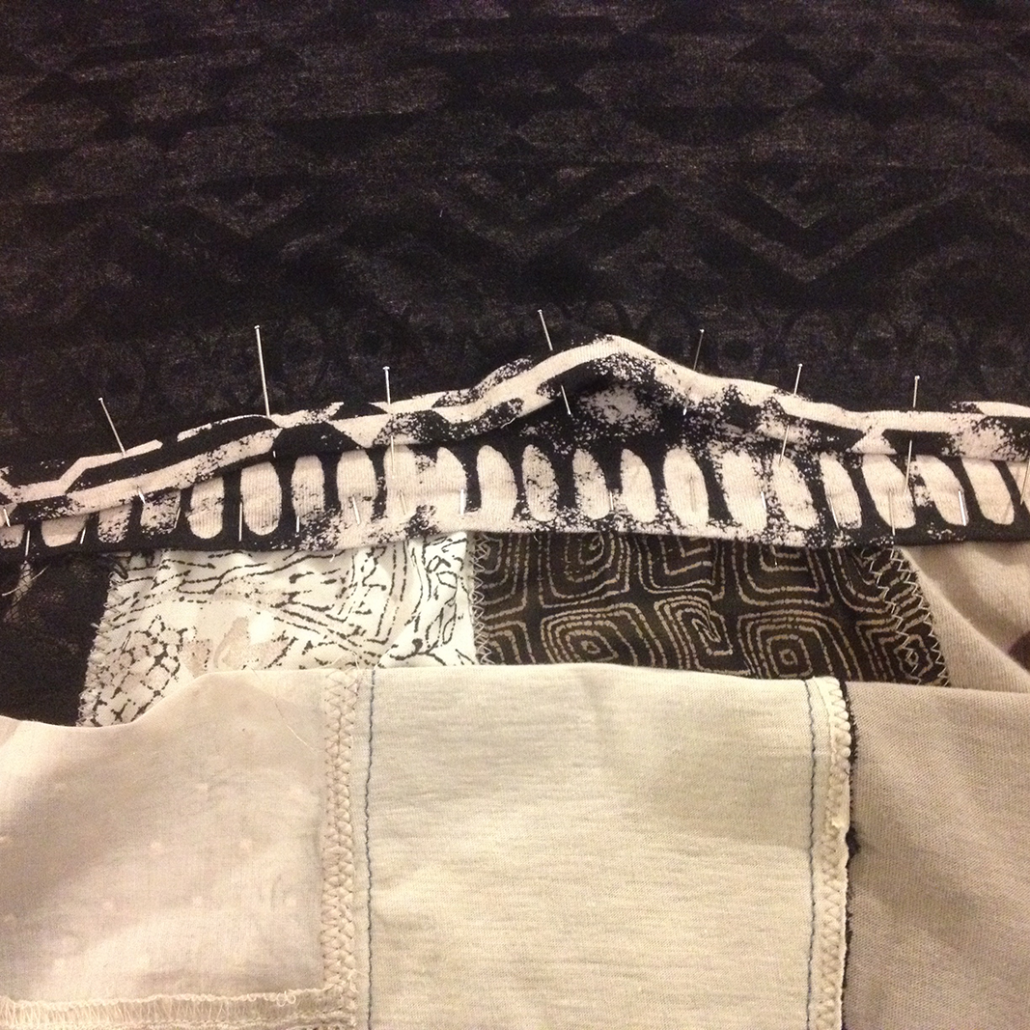
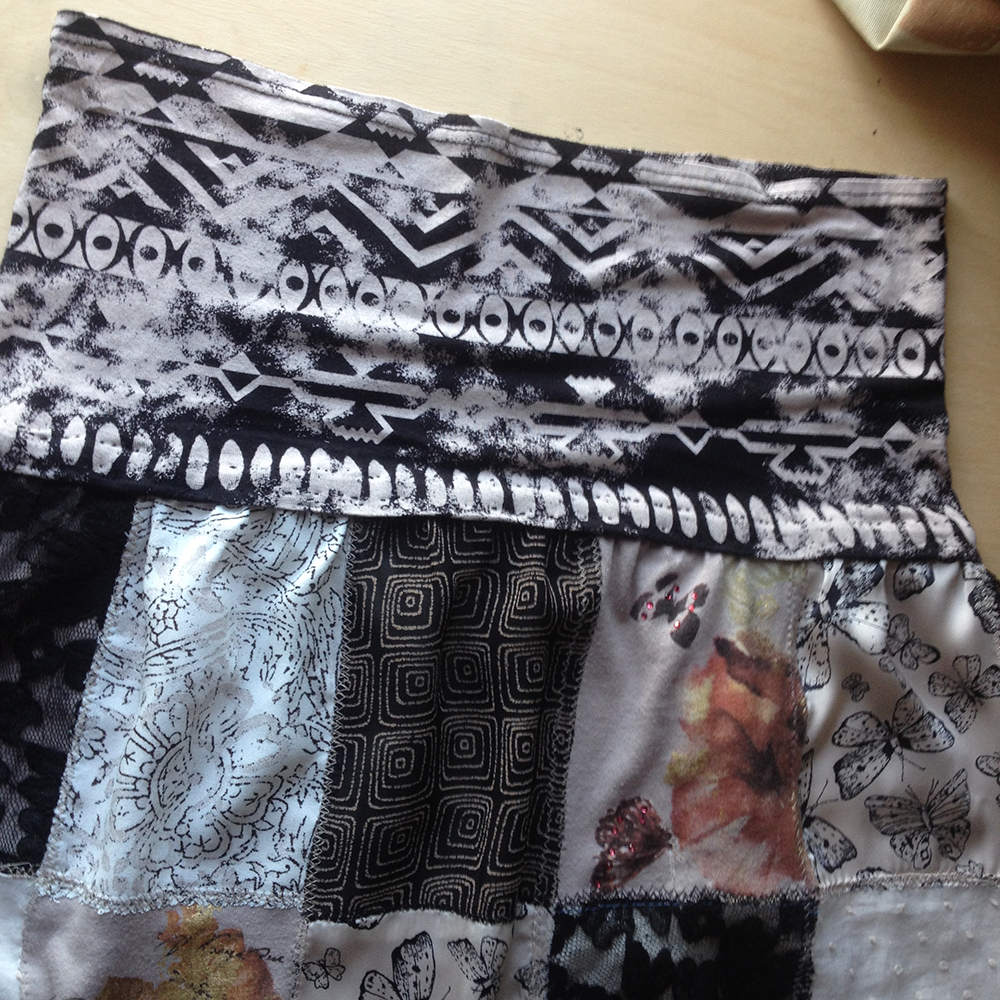
The lining dress only has short sleeves, so I used other polyester fabrics to lengthen them in patchwork. Outside sleeve fabrics are viscose floral print and others, seen in making photos. Last four photos show cuff addition to lengthen sleeve and give print interest. black fused interfacing ironed on. Fold extension over to show other fabric as an edge border contrast. Fold down outer onto lining. Pin cuff extension to outer sleeve patches. Machine or hand stitch down.


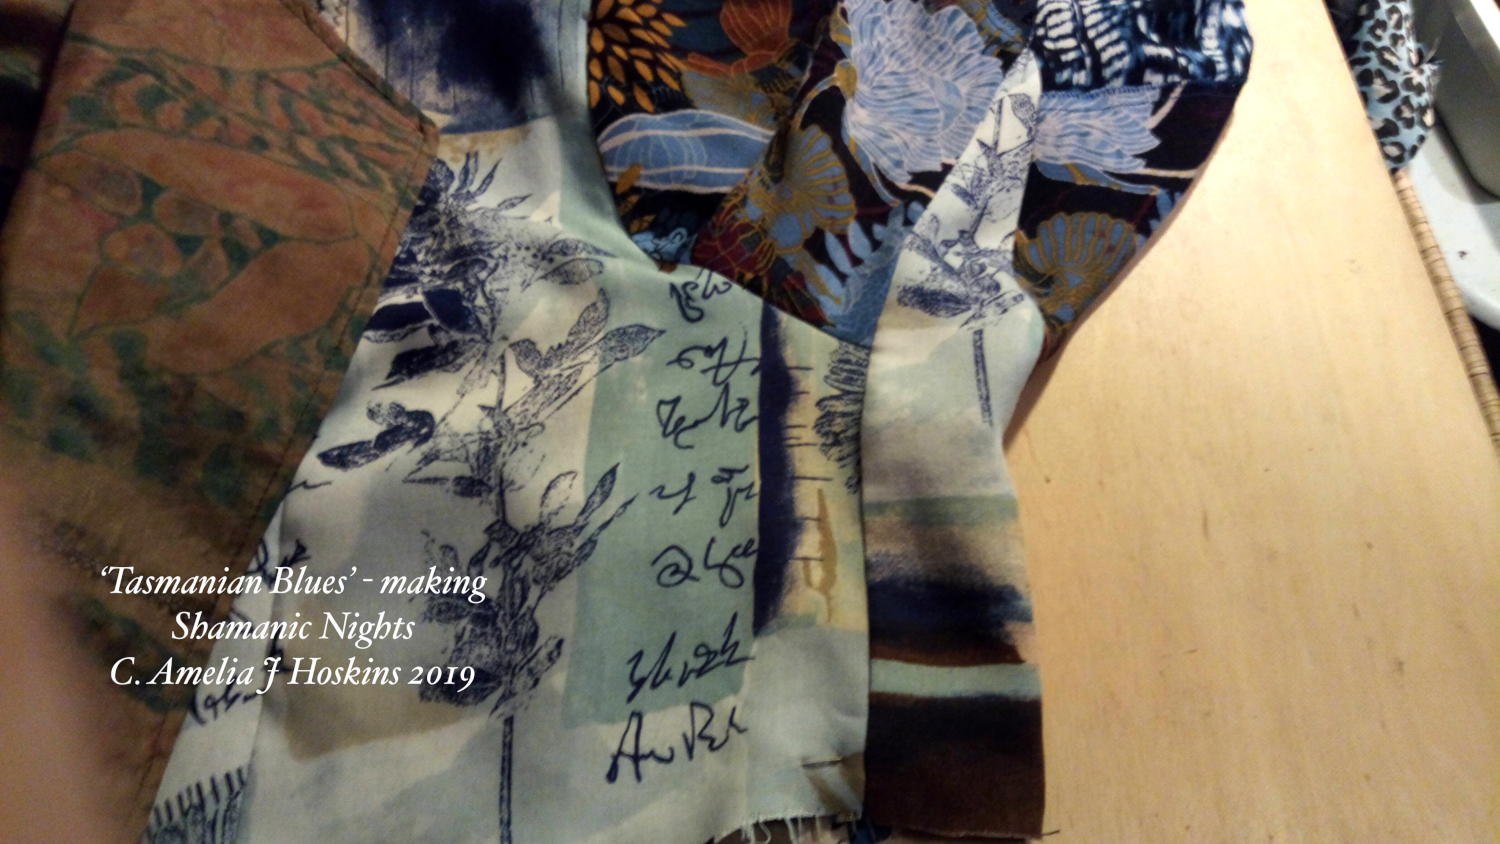
To give a fuller underarm, similar to kimonos; after inserting sleeves, I left underarm and side seams open, and cut strips for underarm gusset, using viscose fabric outer and navy lace inner: an elongated triangle about 4 inches to a point from underarm centre into sleeve length. (the lining dress was small size, so these inserts also enlarged fit up to 38″ bust.) Darts can be seen at front and back of bodice sections.
Back neck facing and simple front facing cut to fit dress front neckline.
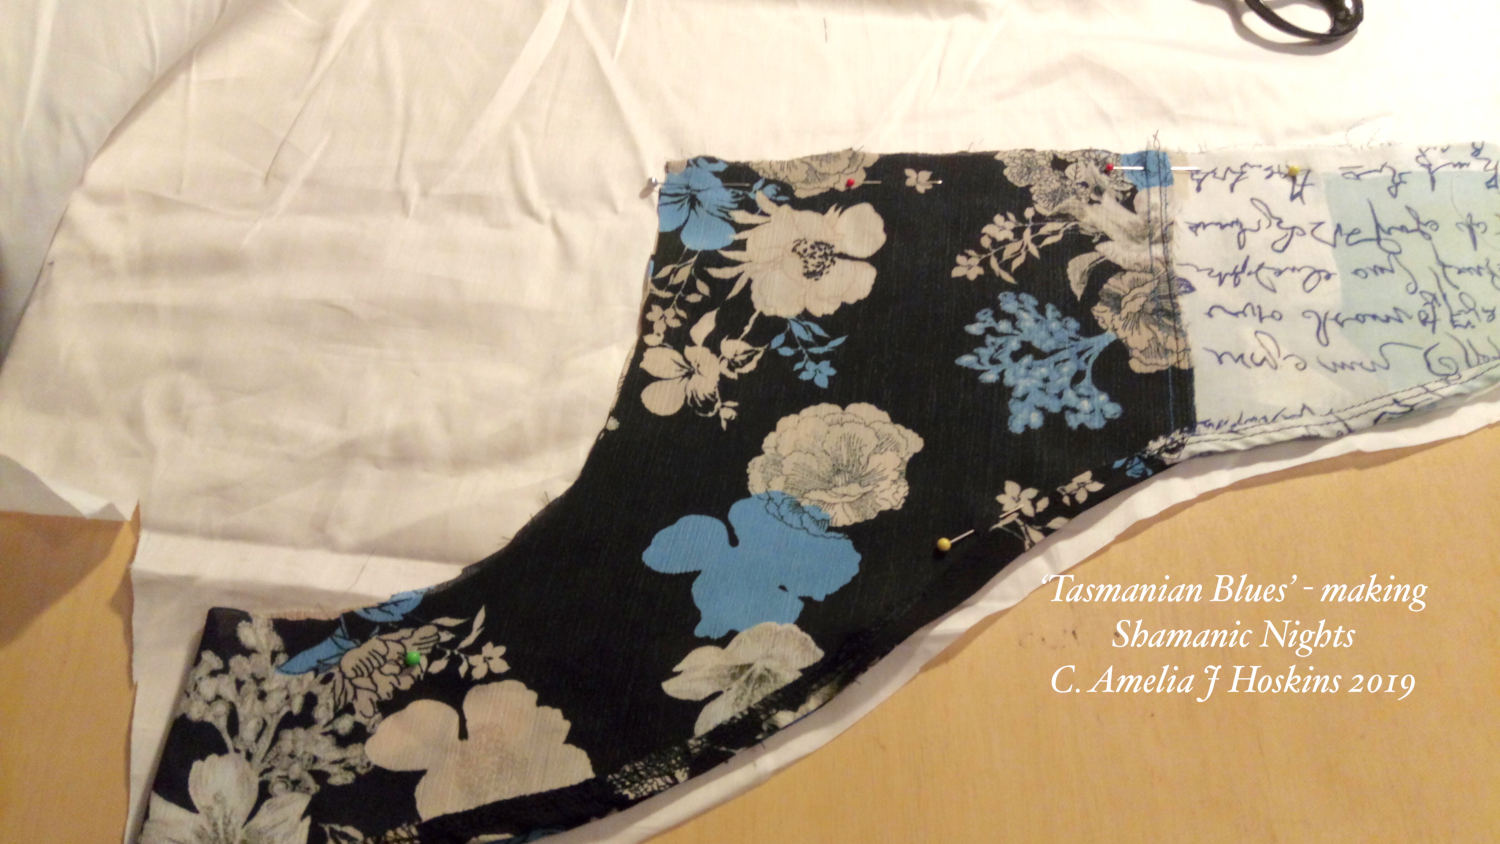


A curved frill piece was used from the original lining dress to create a fit, which curves around back neck and fits to front edge of ‘V’ neckline. Cutting adjustments made to allow a shape that would extend the curve from centre back neck (left side photo 1.) continuing around to fit to dress front V neckline, and produce a simple fold back collar only at front. Once the under-fabric was established, an identical shape was cut in white cotton, to use as copy pattern for upper fabric patchwork, (which incorporates the eucalyptus dyed silk). Photo 2. ‘Collar/facing was firmed a little with fine fused black interlining.
Finnish kimono dress lower patchwork making:
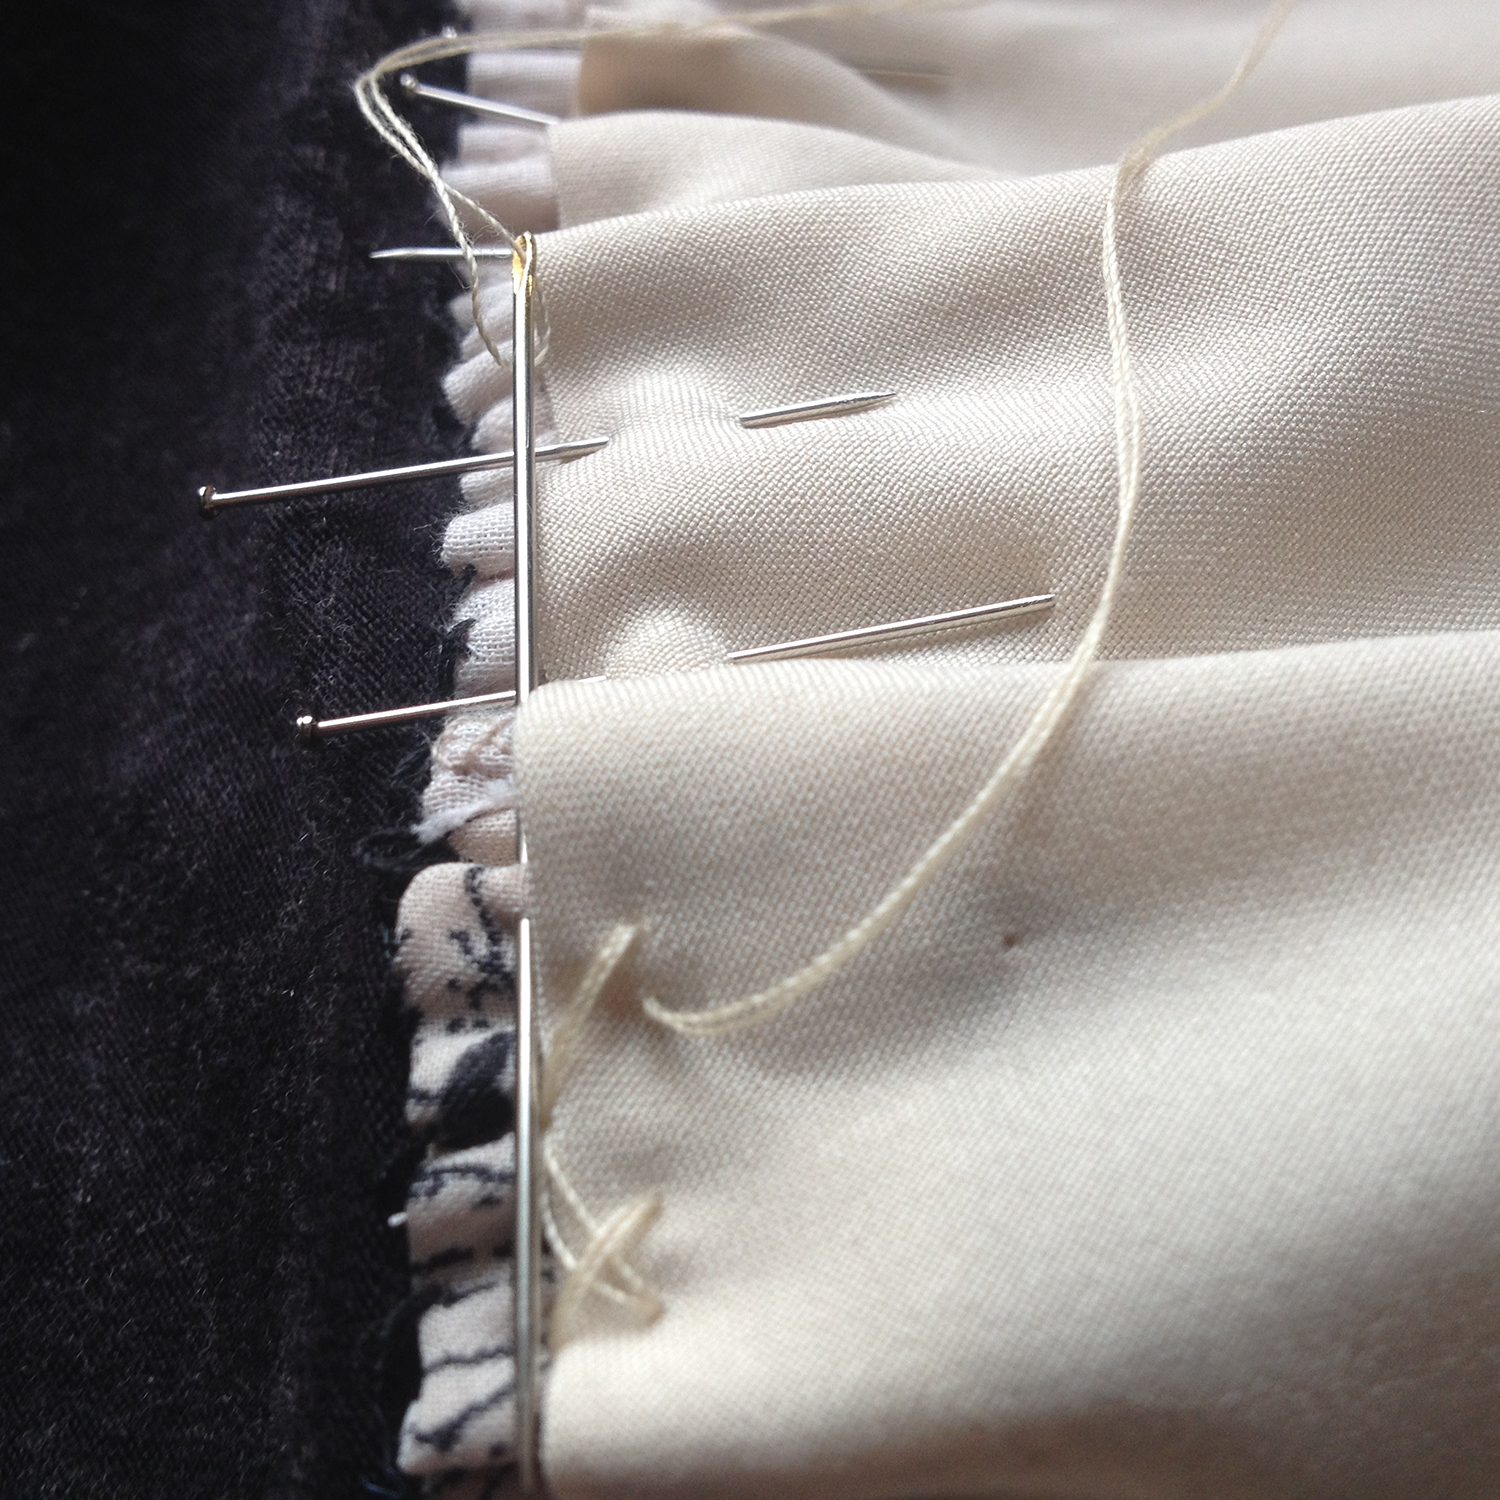
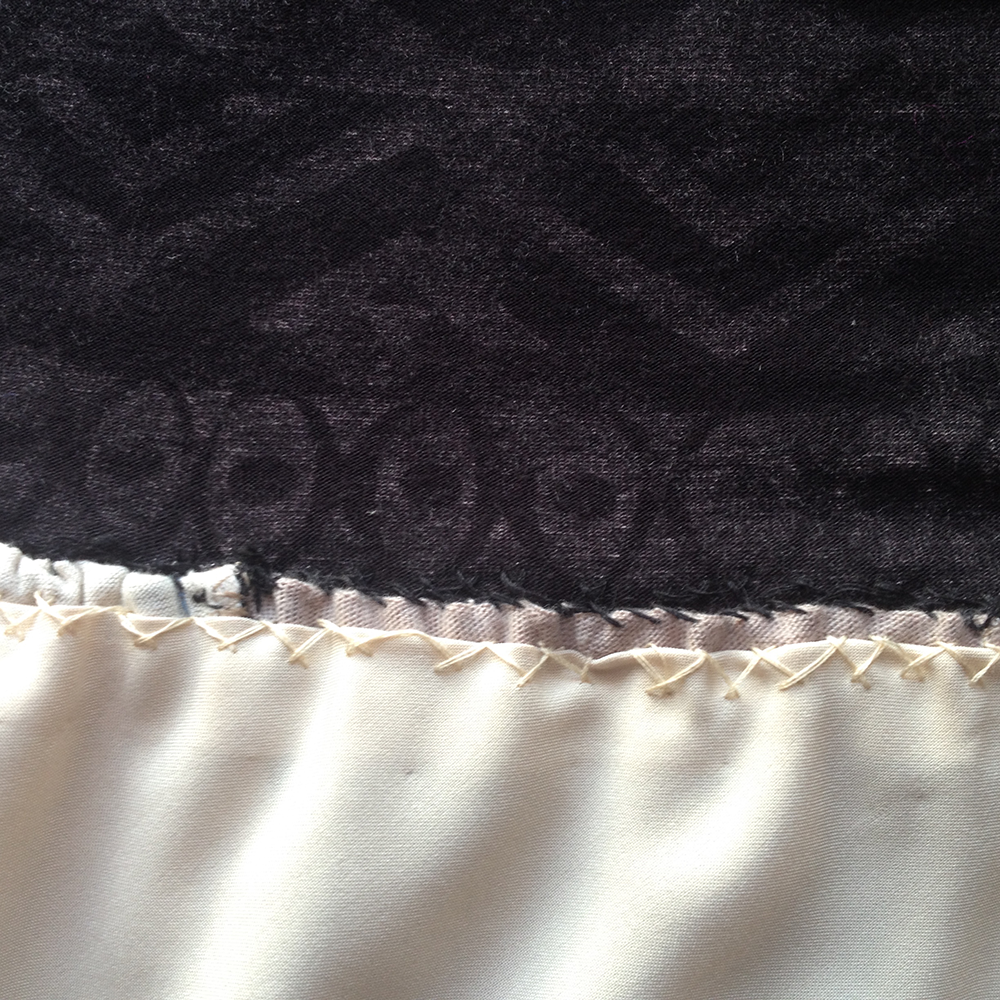
Once upper bodice is completed (with or without sleeves), the lower skirt part of kimono dress is made by cutting rectangles and joining until there is enough to fit around the high waistline. This is the stage to consider which colours to juxtapose in lower garment. You may save some special pieces to show at front. Symmetry is a good idea: working from centre, to sides, repeating colour/shades similarly on either side. Start at the centre on the back, and work to the sides, adding patches until the desired width is reached, in correspondence to the upper bodice of dress. I describe an ad-hoc method of choosing fabric patches one by one, until enough are made. Alternatively, by calculating desired length of dress, and desired size of patches, you can calculate how many patches of each fabric colour or printed pattern will be needed in advance of cutting and machining. Lay them out on a table to desired colour juxtaposition, keeping in mind how the front and centre back will look. Work similarly from centre back, adding patches across and down, until length is reached. Create the patches in columns, then machine down the long rectangular panels, onto the under lining. (Fabric, or garment used as lining base). Allow 2-3 inches more at front and back, which can be gather-stitched to fit before seaming the bodice and skirt parts together. This could be darted if preferred. I darted the kimono-dress.
Tunic top ‘Nigella Blues’ in my ETSY Shop
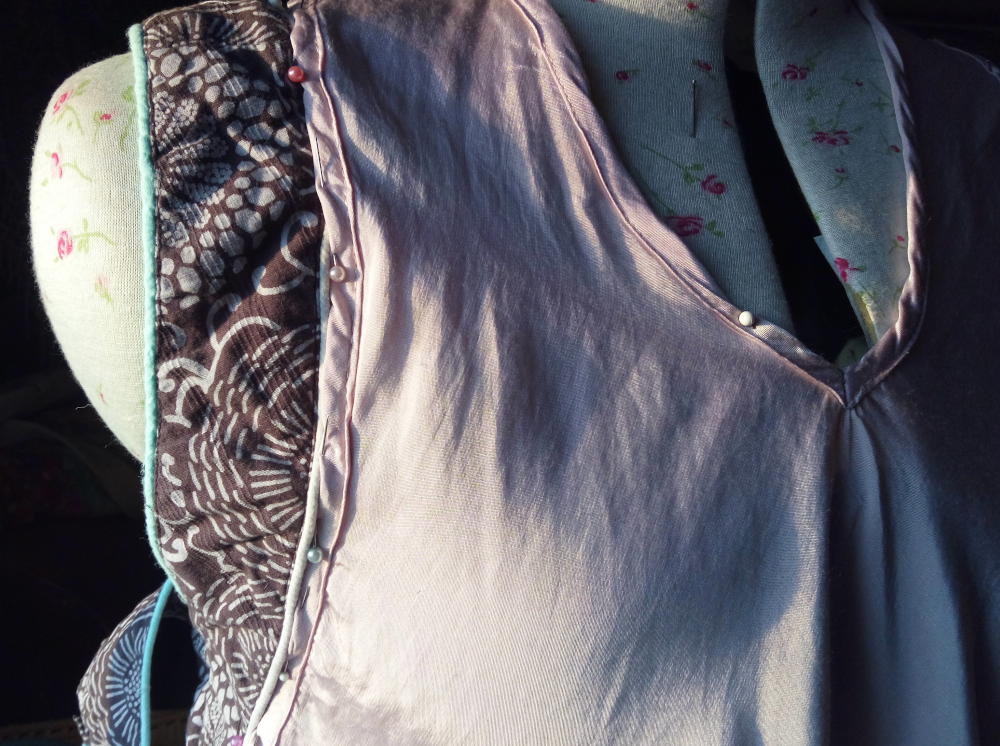
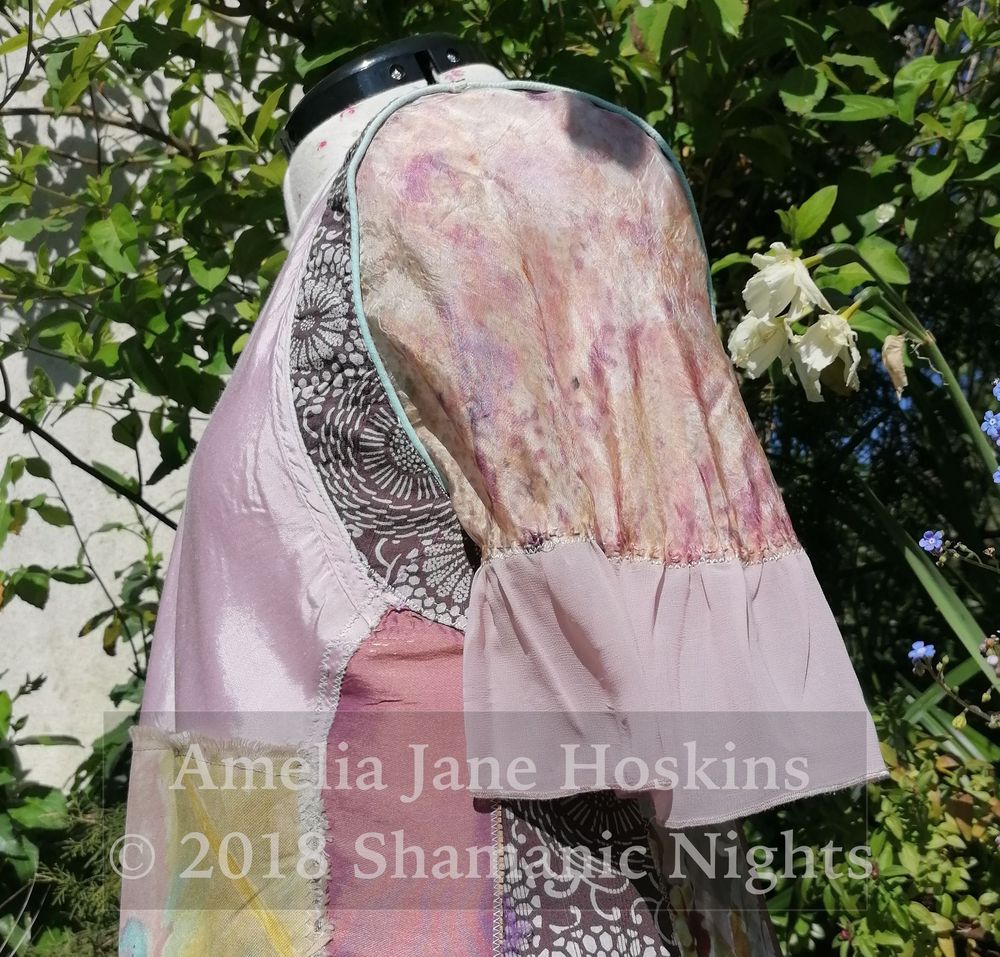
There was enough blue themed fabric left to make small tunic dress. Again, patches are stitched onto an existing garment; a cream/white/brown/blue flora design A-line short sleeved flared top, which becomes the lining. The beige and blue on creamy peach work well with the blue patchworks, and also provide a light background to the blue lace patches, contrasting the lace: see top back photo and front lower side. (Light coloured lace can utilise darker backgrounds.) Short sleeves are unlined patchwork with bound viscose print hems.
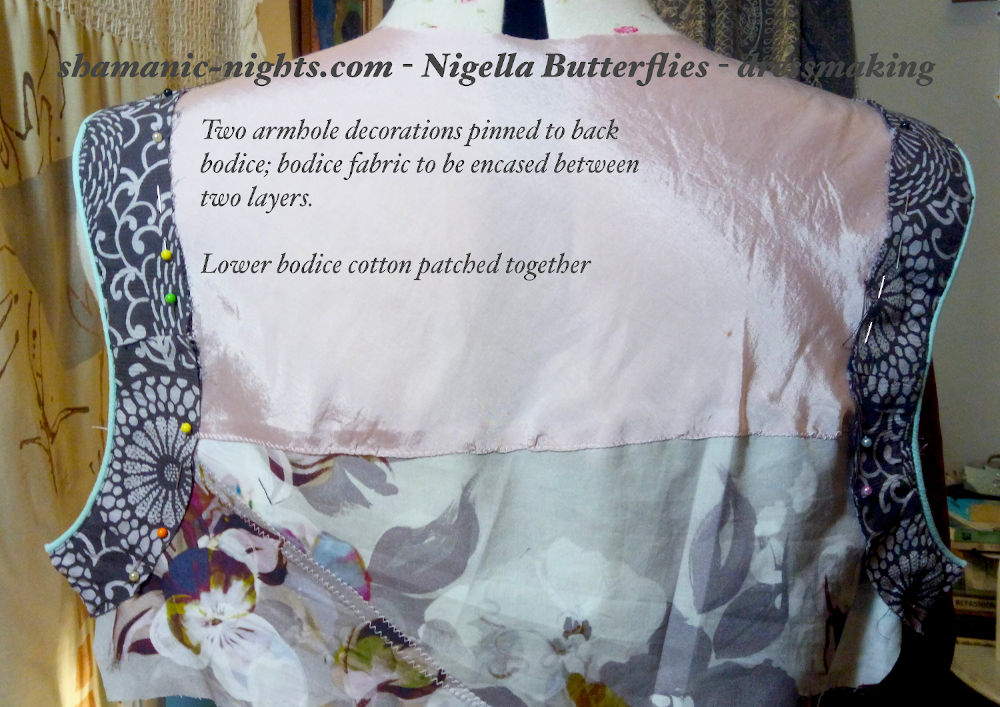
The armholes were large, for a Plus size, so I darted the lining from armhole to bust point, and did same with upper patchwork. I cut down the centre due to extra width, and folded over edges for front facing firmness, still having enough to overlap for buttoning.

Making – Bound Button Holes
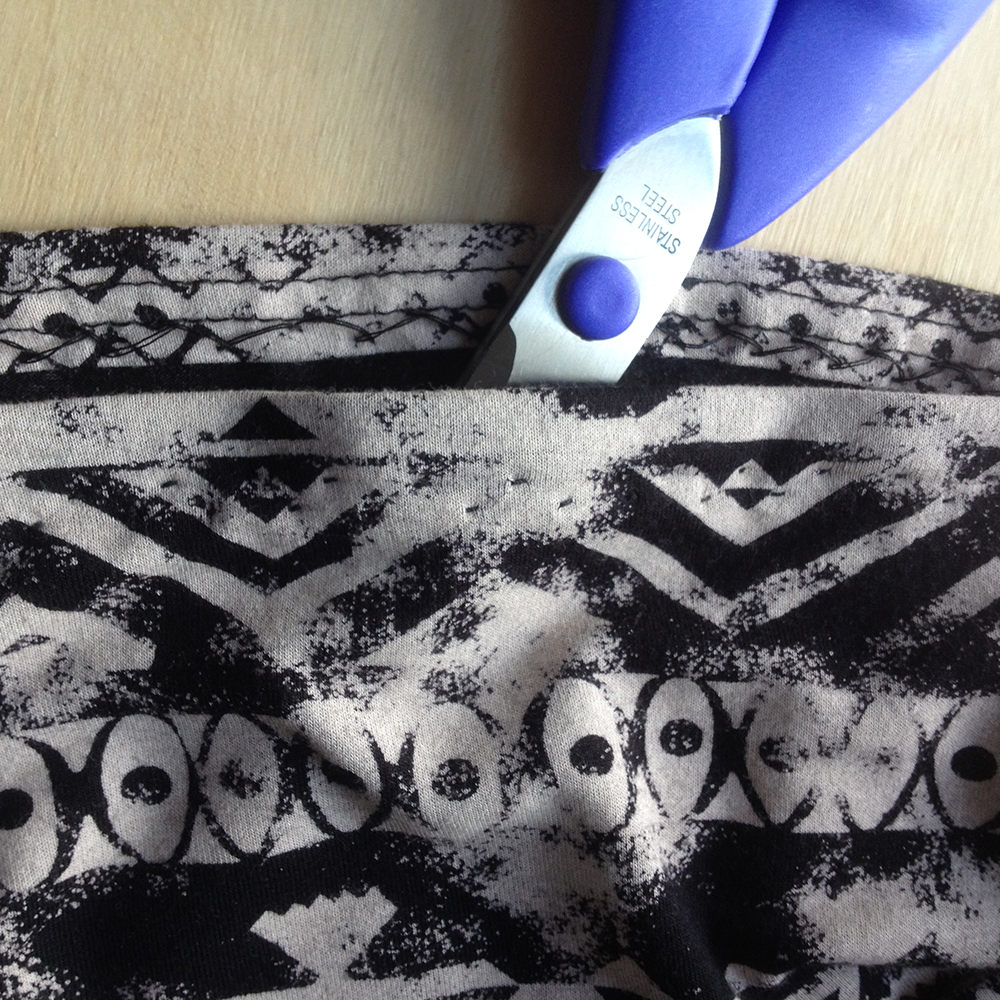
- Mark width of button, add a little more. Sew a rectangle over button size area on right side of fabric.
- Machine around, cut centre, cut into corners
- Fold rectangle through to wrong side, Press flat with folds meeting, as shown.
- Hand stitch lining to bound edges.
- Top stitch on right side (optional). I did so here, due to fraying of lining fabric.


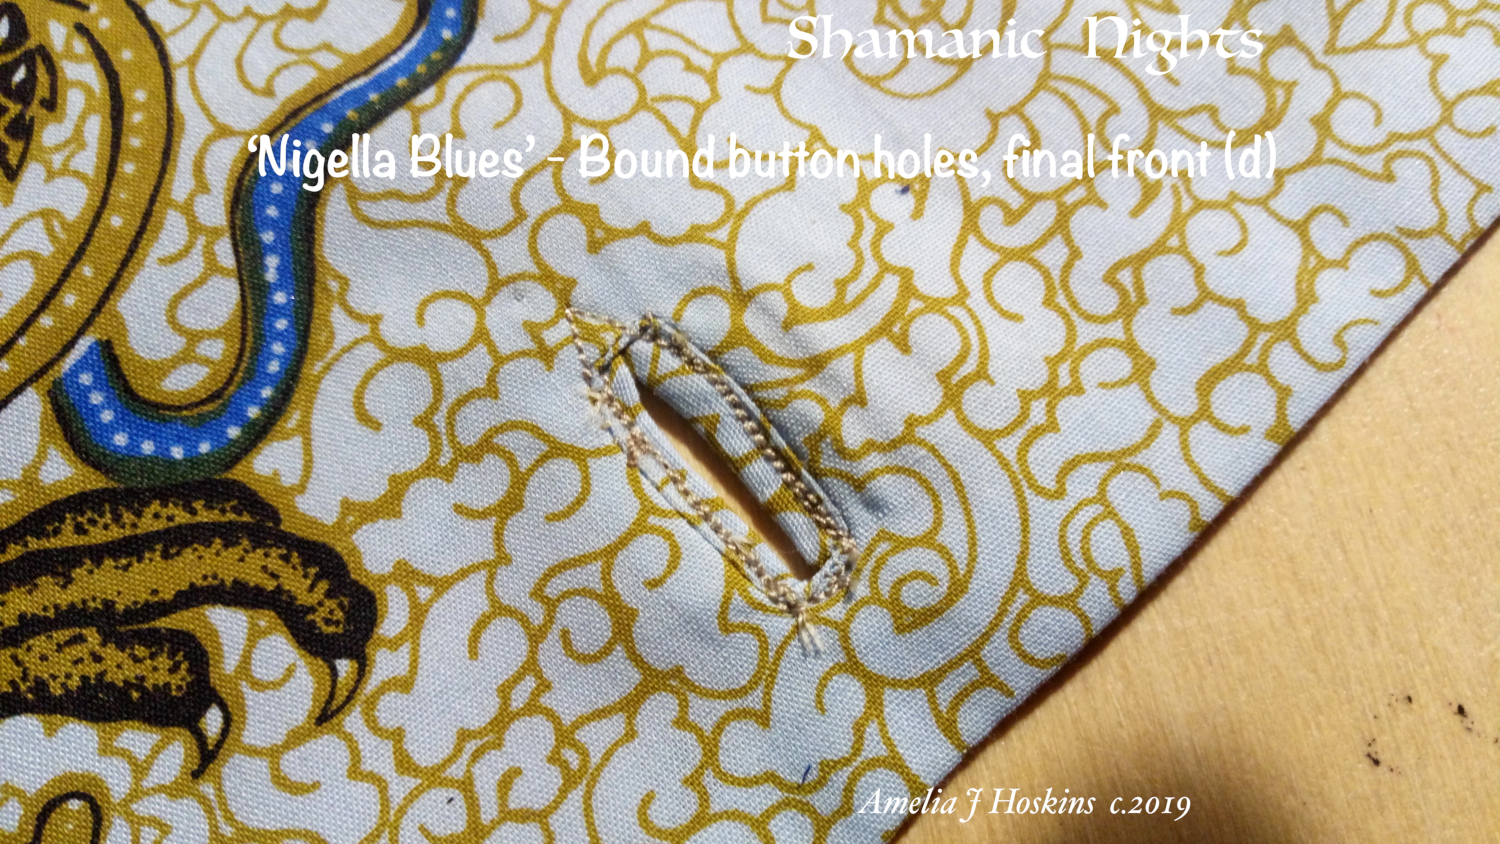
Bound button holes


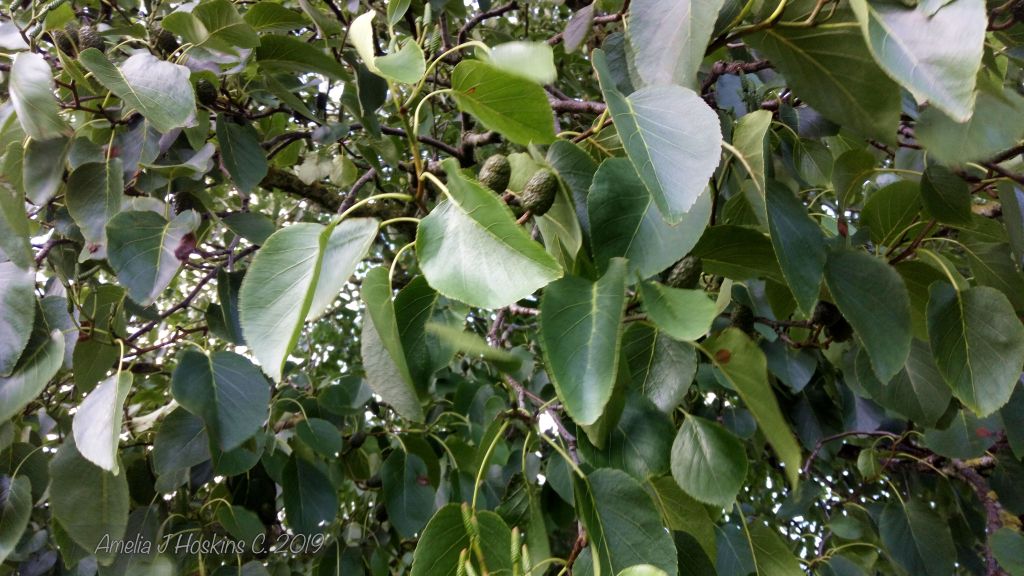
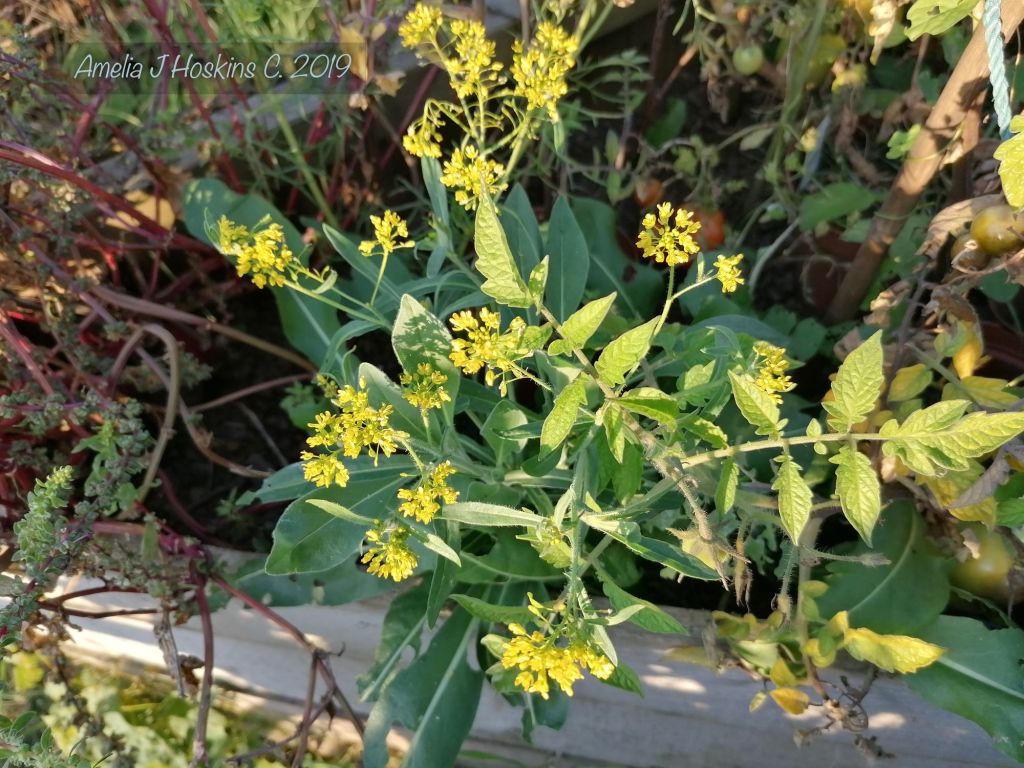
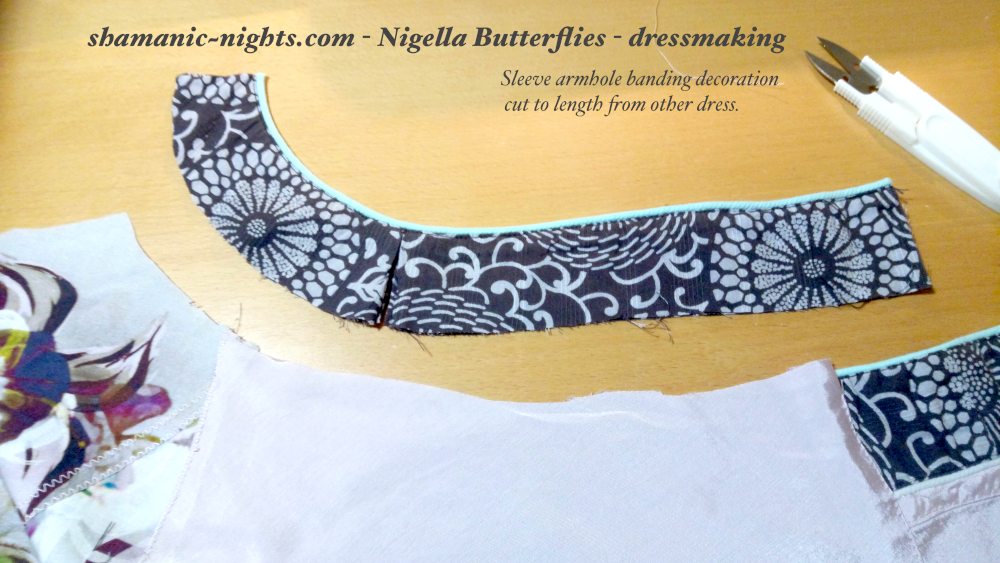
Applique motifs are inspired from Nigella seed pods grown in my allotment. Photos and drawings simplified for cut and sew. The centre silk has been dyed with eucalyptus bark before painting on (same silk as ‘Tasmanian Blues’ collar above), although darker due to after-modifying soaking in iron (rusty nail water makes a considerable darker change). Right photo seed pod has silk centre of bundle dyed silk with seeds and petals. Lace seed ‘pod’ fabric has been also dyed with eucalyptus bark, left overnight after initial silk dye has taken up most of the colour. Its always a good idea to see how deep a colour you can dye in the ‘left-over’ dye bath. See eucalyptus dying blog: